With the Easter holidays only a month away at the time of writing it’s about time that The Yum Yum Club shows off some of it’s Easter recipes. I posted some wonderful Hot Cross Buns a couple of days ago and urge you to give these a go. Very simple and very tasty. There’s a video tutorial too if you that helps. Just click here ▶
However, no matter how good Hot Cross Buns are they don’t cater to the sweetest of teeth. The mixed spice is great but, let’s call them our smaller friends, like a little more sweety, chocolate, creaminess. To that end, I thought the next Easter surprise would be this wonder Cream Egg Cheesecake!!
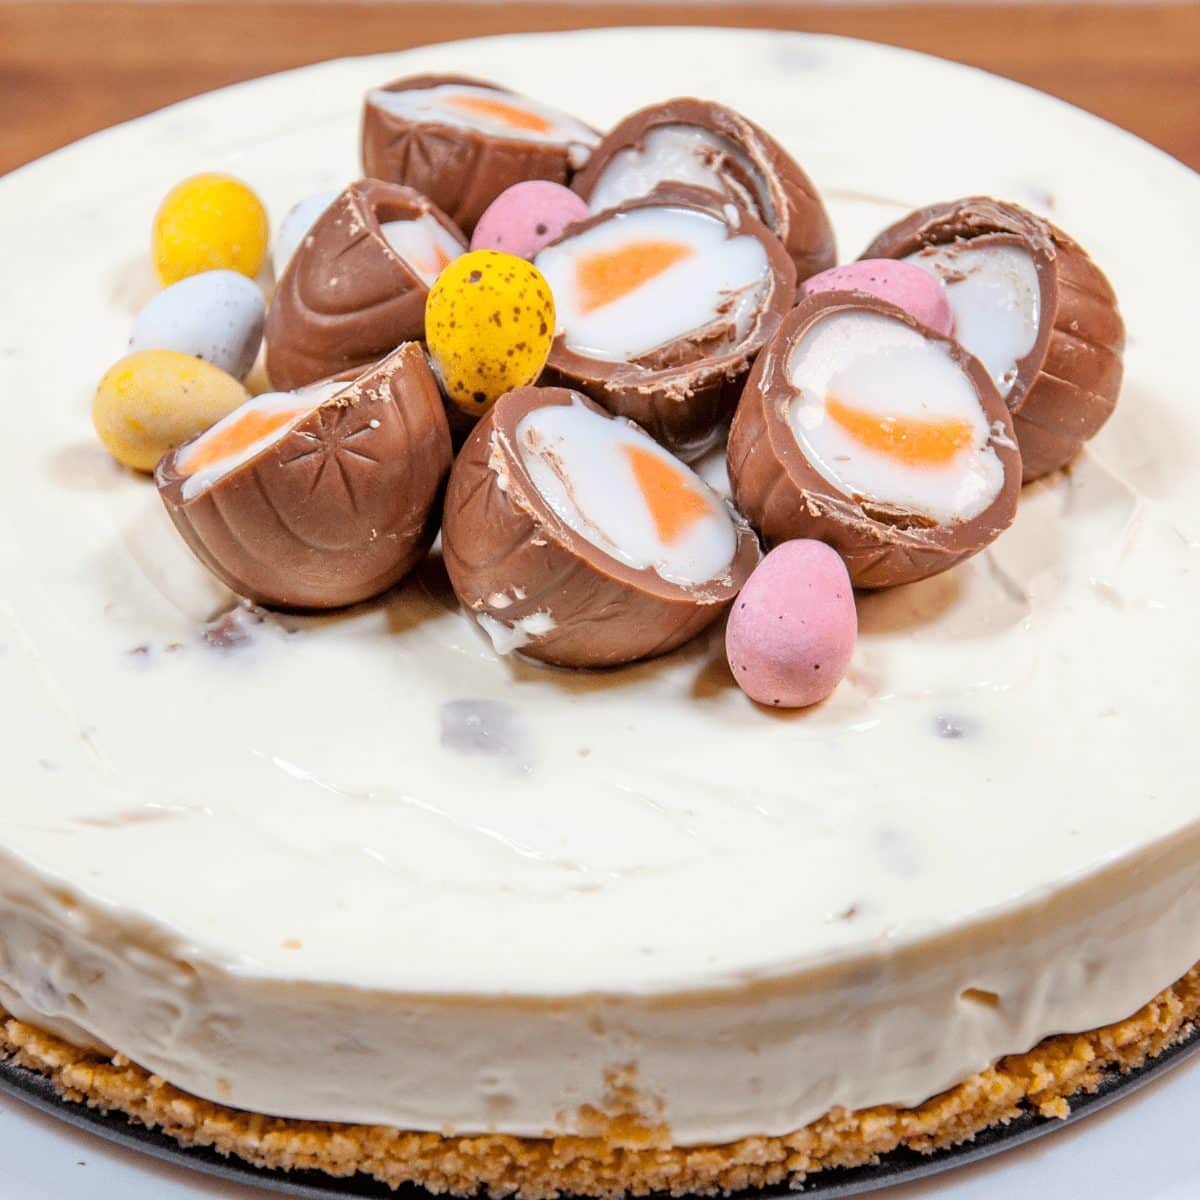
Cream Egg Cheesecake
The great thing with cheesecakes, and especially this Cream Egg Cheesecake is that not only will the kids love it, but they also love to get involved with making it. And will all know that anything that involves the kids in the kitchen is a good thing.
So let’s make this beauty…
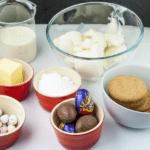
1. Gather all of the ingredients
This is a really easy recipe so aside from the cream and mini chocolate eggs all you need is some digestive biscuits and butter for the base, and some cream cheese, double cream and icing sugar for the filling. Easy right…
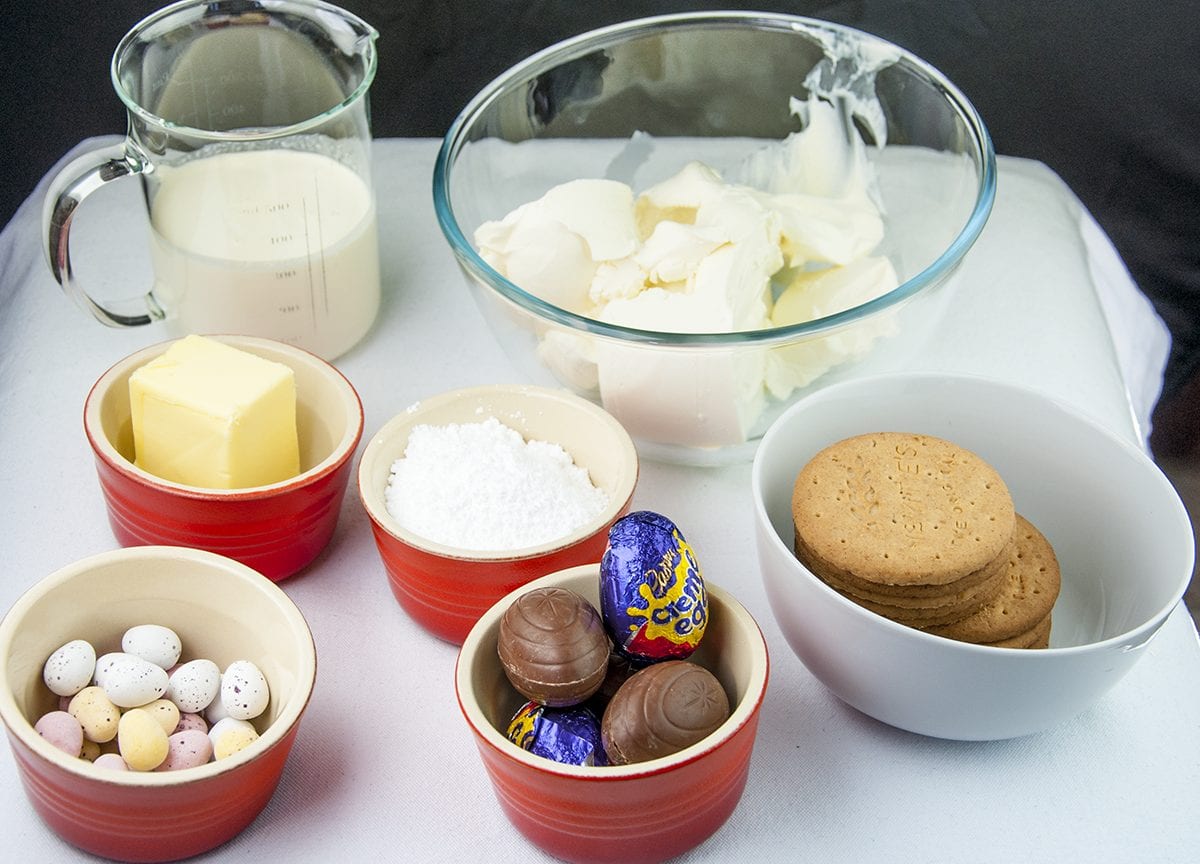
Gather all of the ingredients
These ingredients make 1 22cm diameter Cream Egg Cheesecake. The actual measurements are in the printable recipe below so just double up if you have a larger Easter gathering.
2. Make the cheesecake biscuit base
All you need for the cheesecake base are the biscuits and the butter.
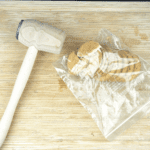
Start by putting all of the biscuits into a freezer bag and grabbing yourself a kitchen tenderizer, or mallet!
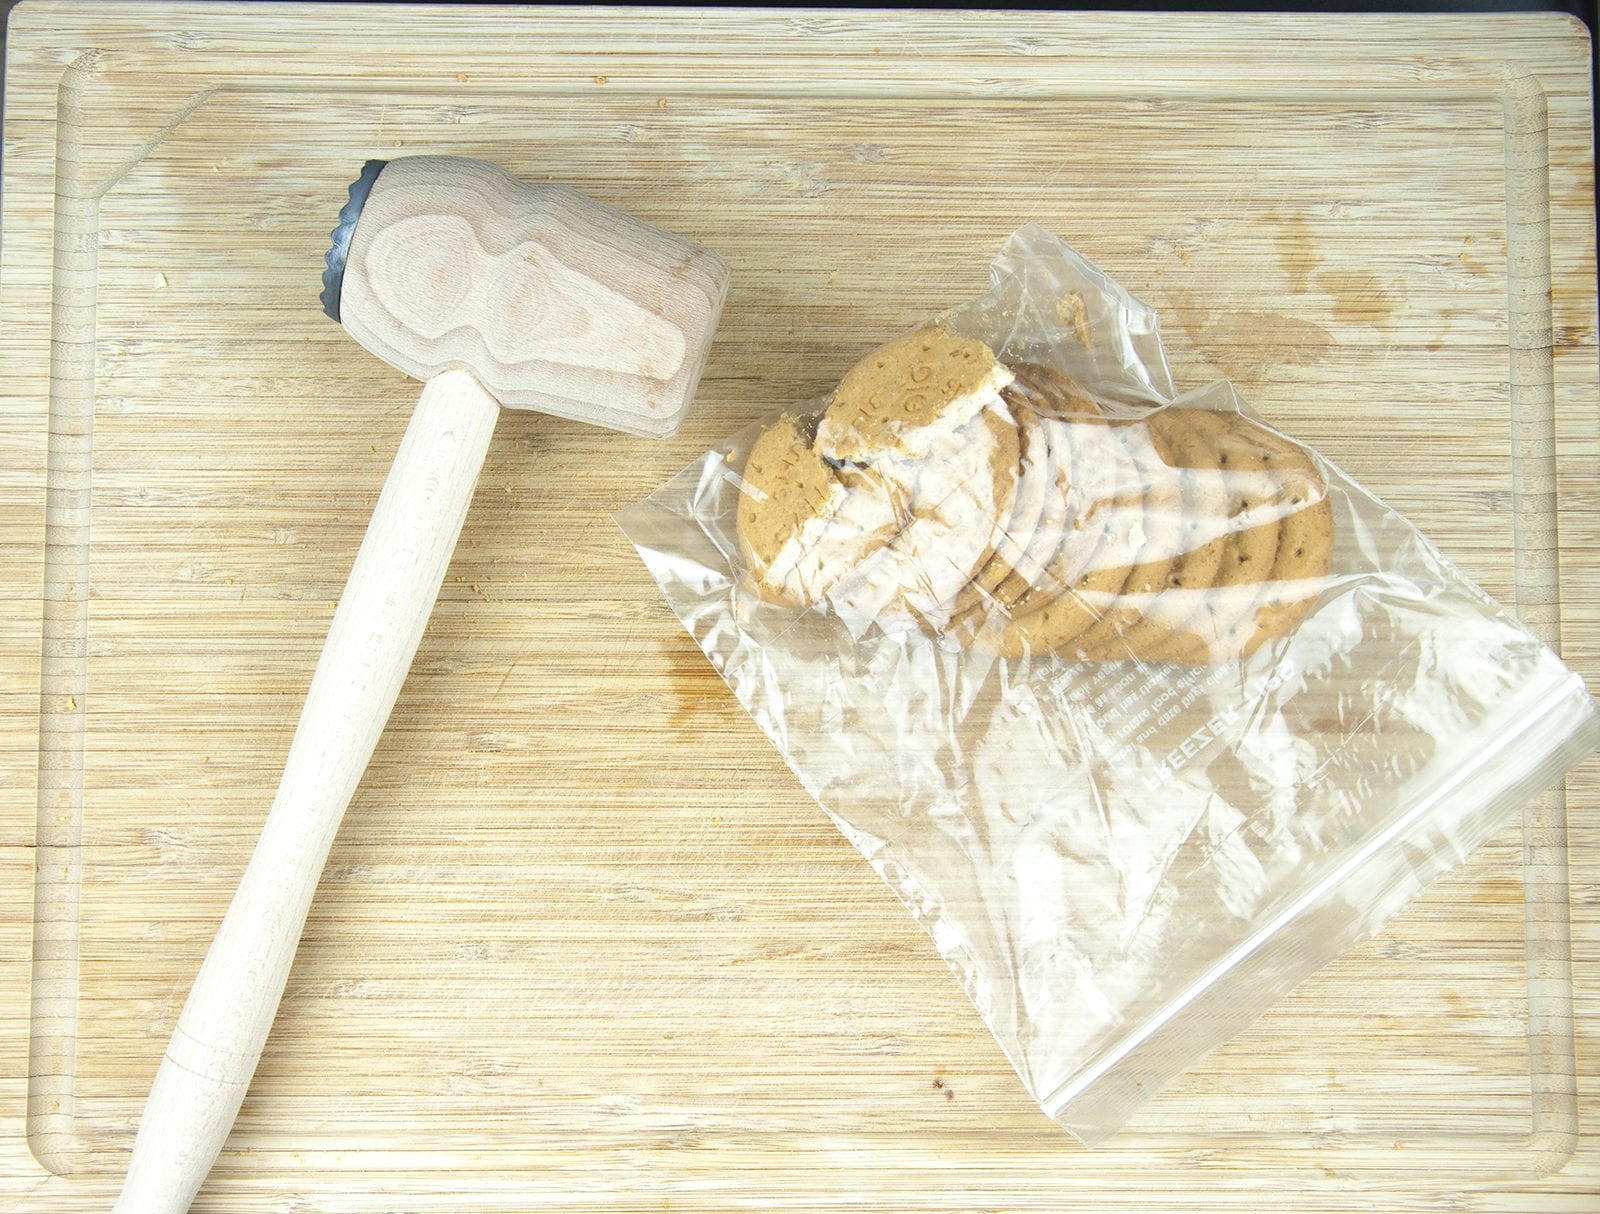
Bash the biscuits to a crumb
Now, bash these bad boys until all you have is a bag full of crumbs. The kids will love this but just watch those fingers…
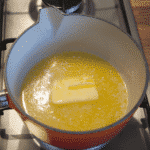
With the biscuit bashing therapy complete it now time do something a little more gentle. Start by melting the butter over low heat in a small saucepan.
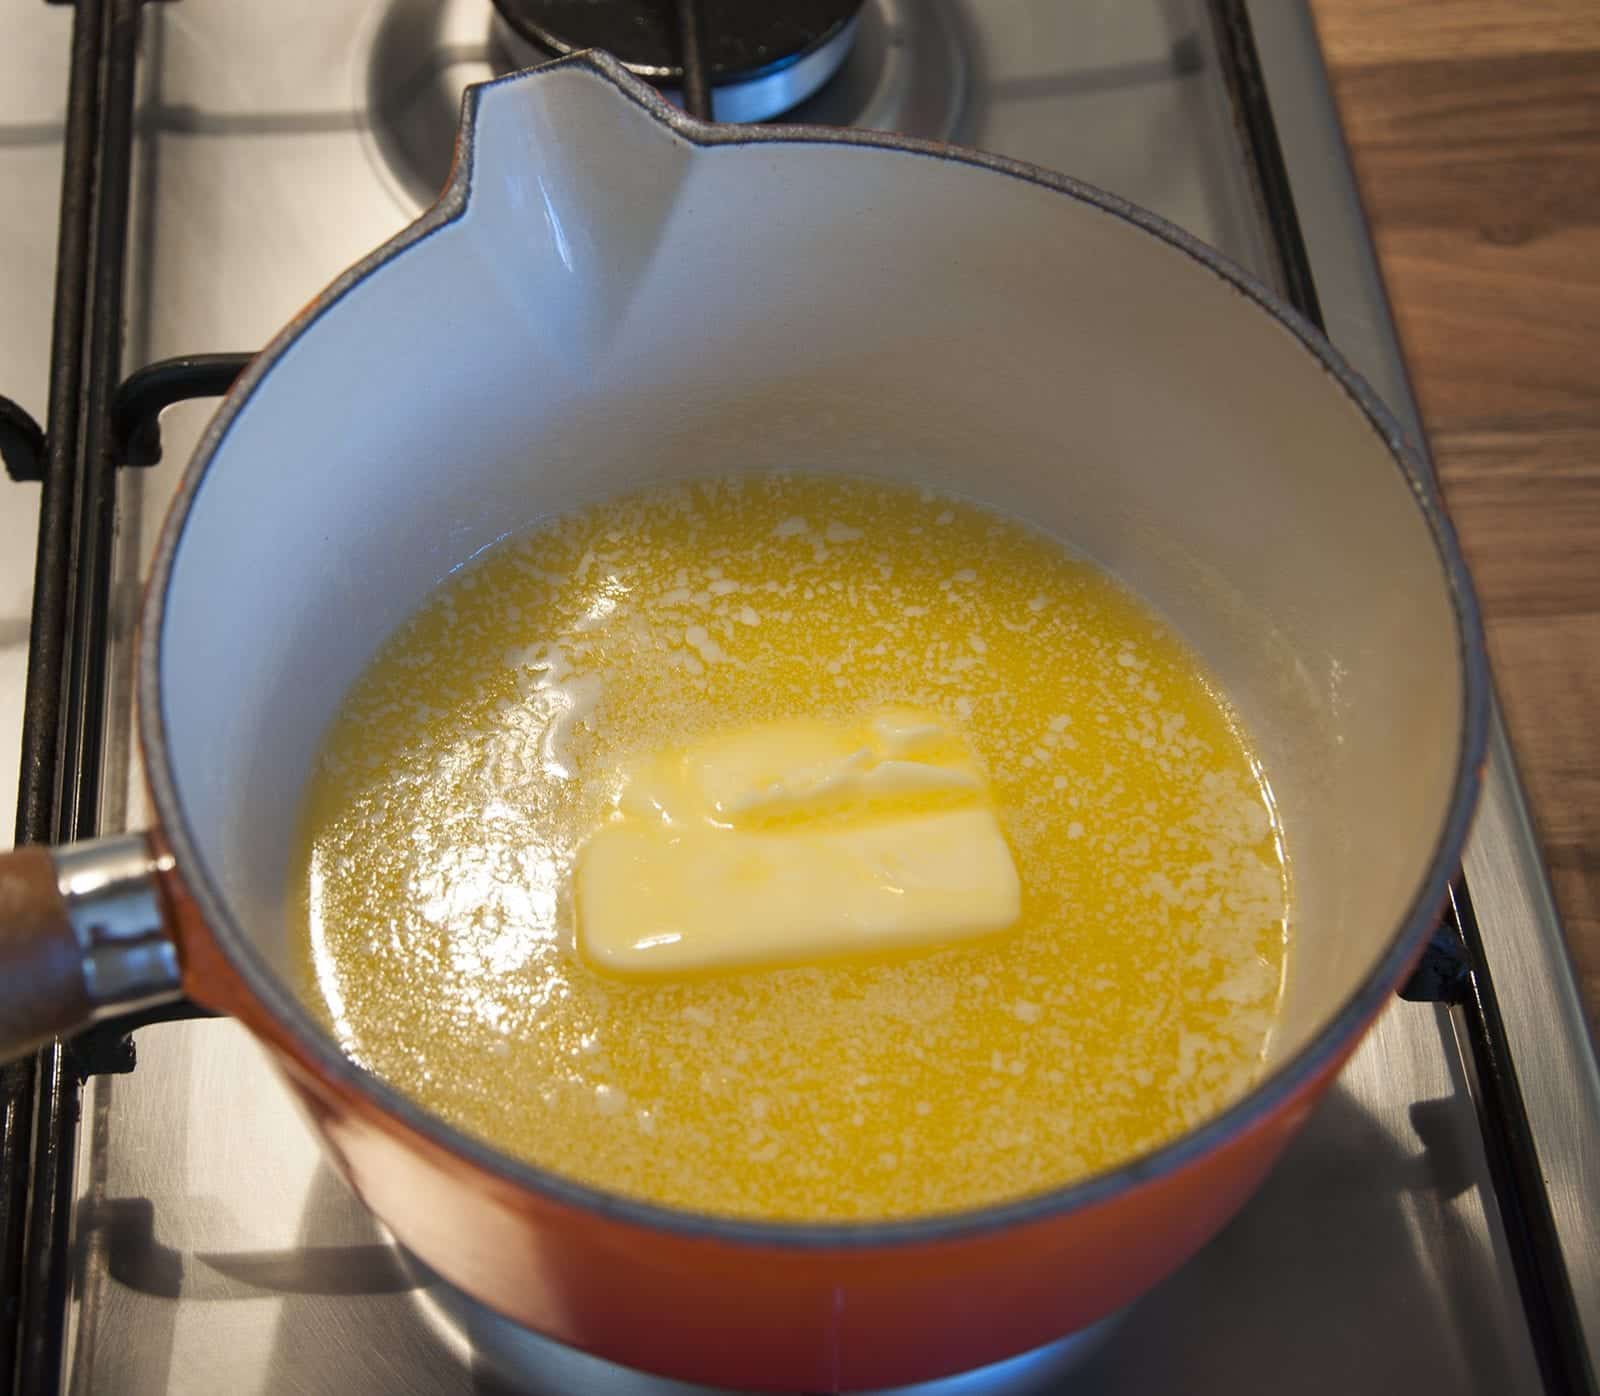
Melt the butter
With the butter melted, take off the heat and add the biscuit crumb.
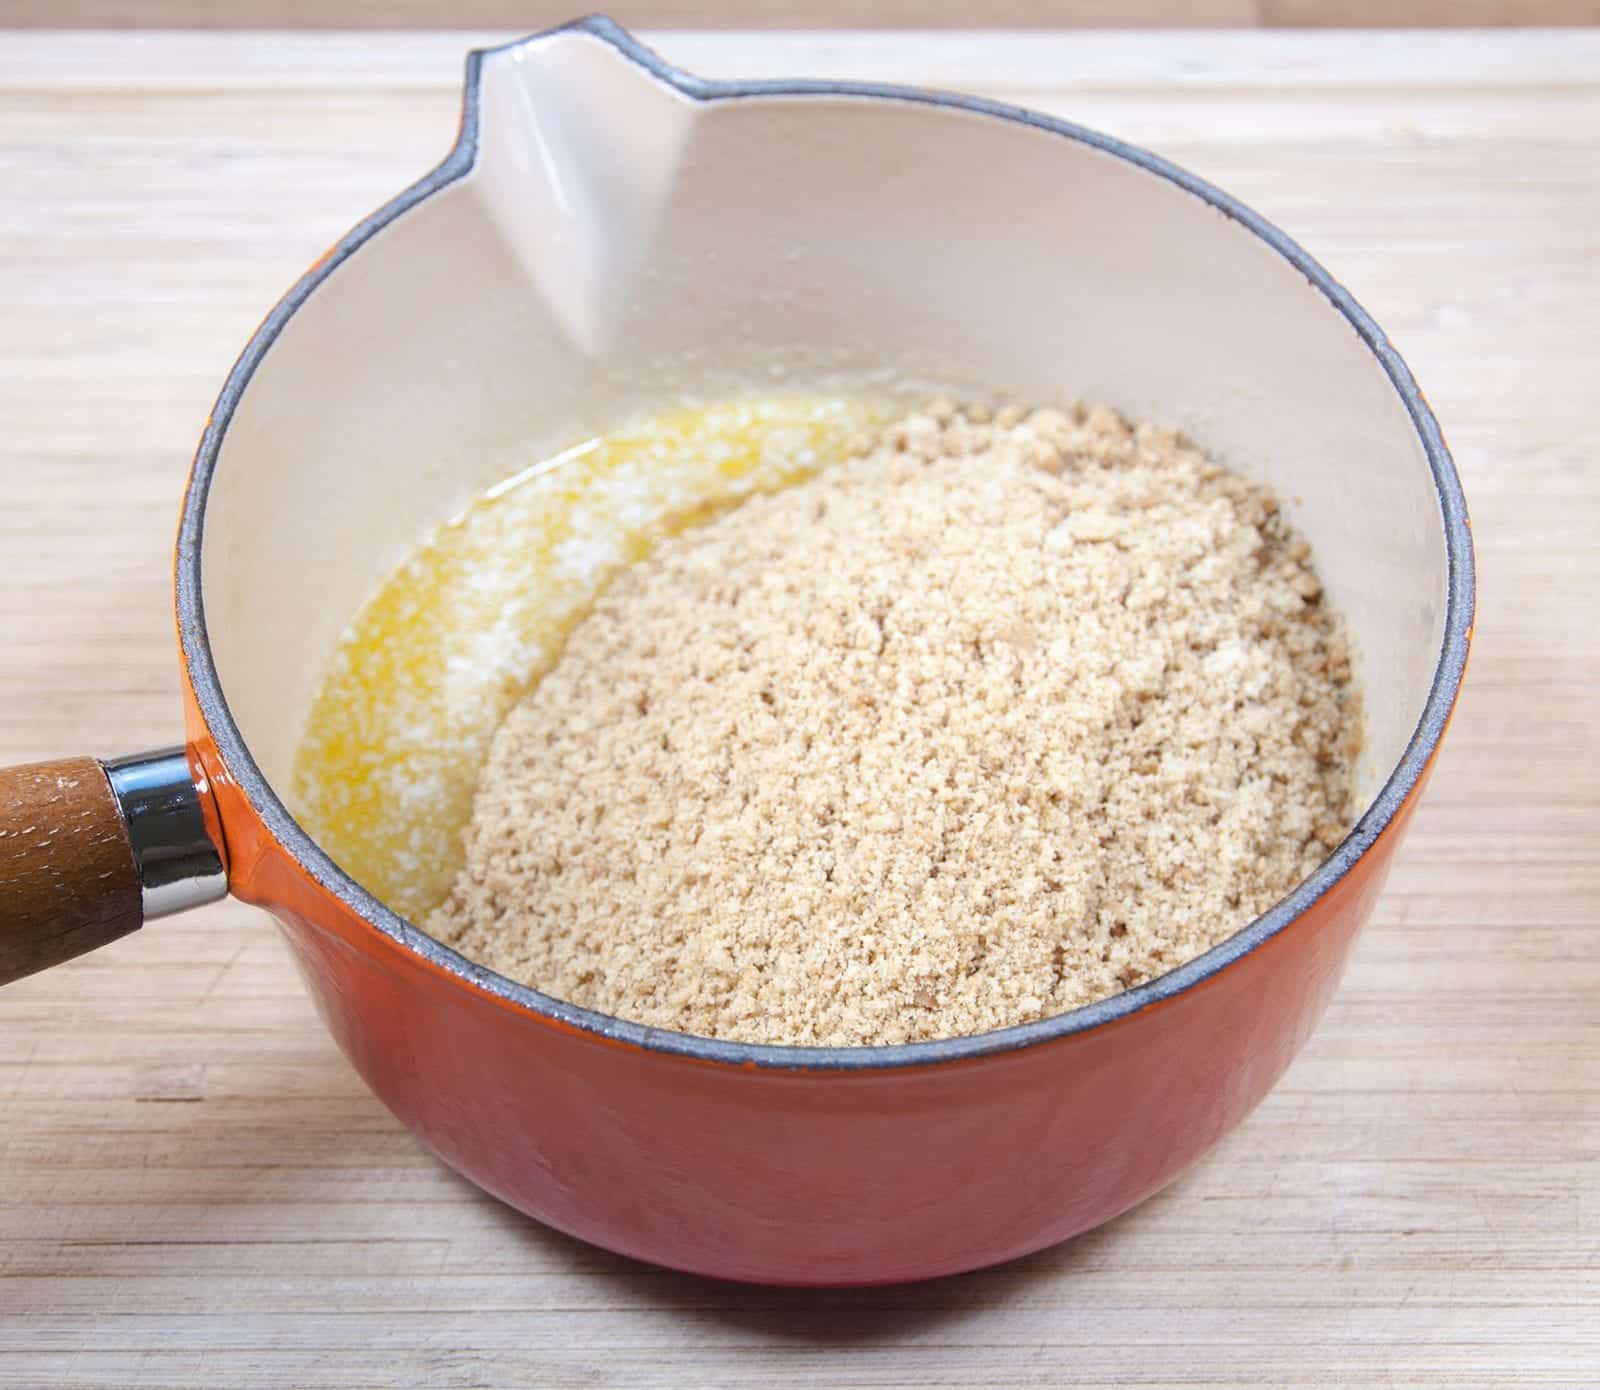
Add the biscuit crumb
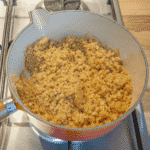
Mix the biscuit crumb and butter together to make a buttery biscuit mixture like this…
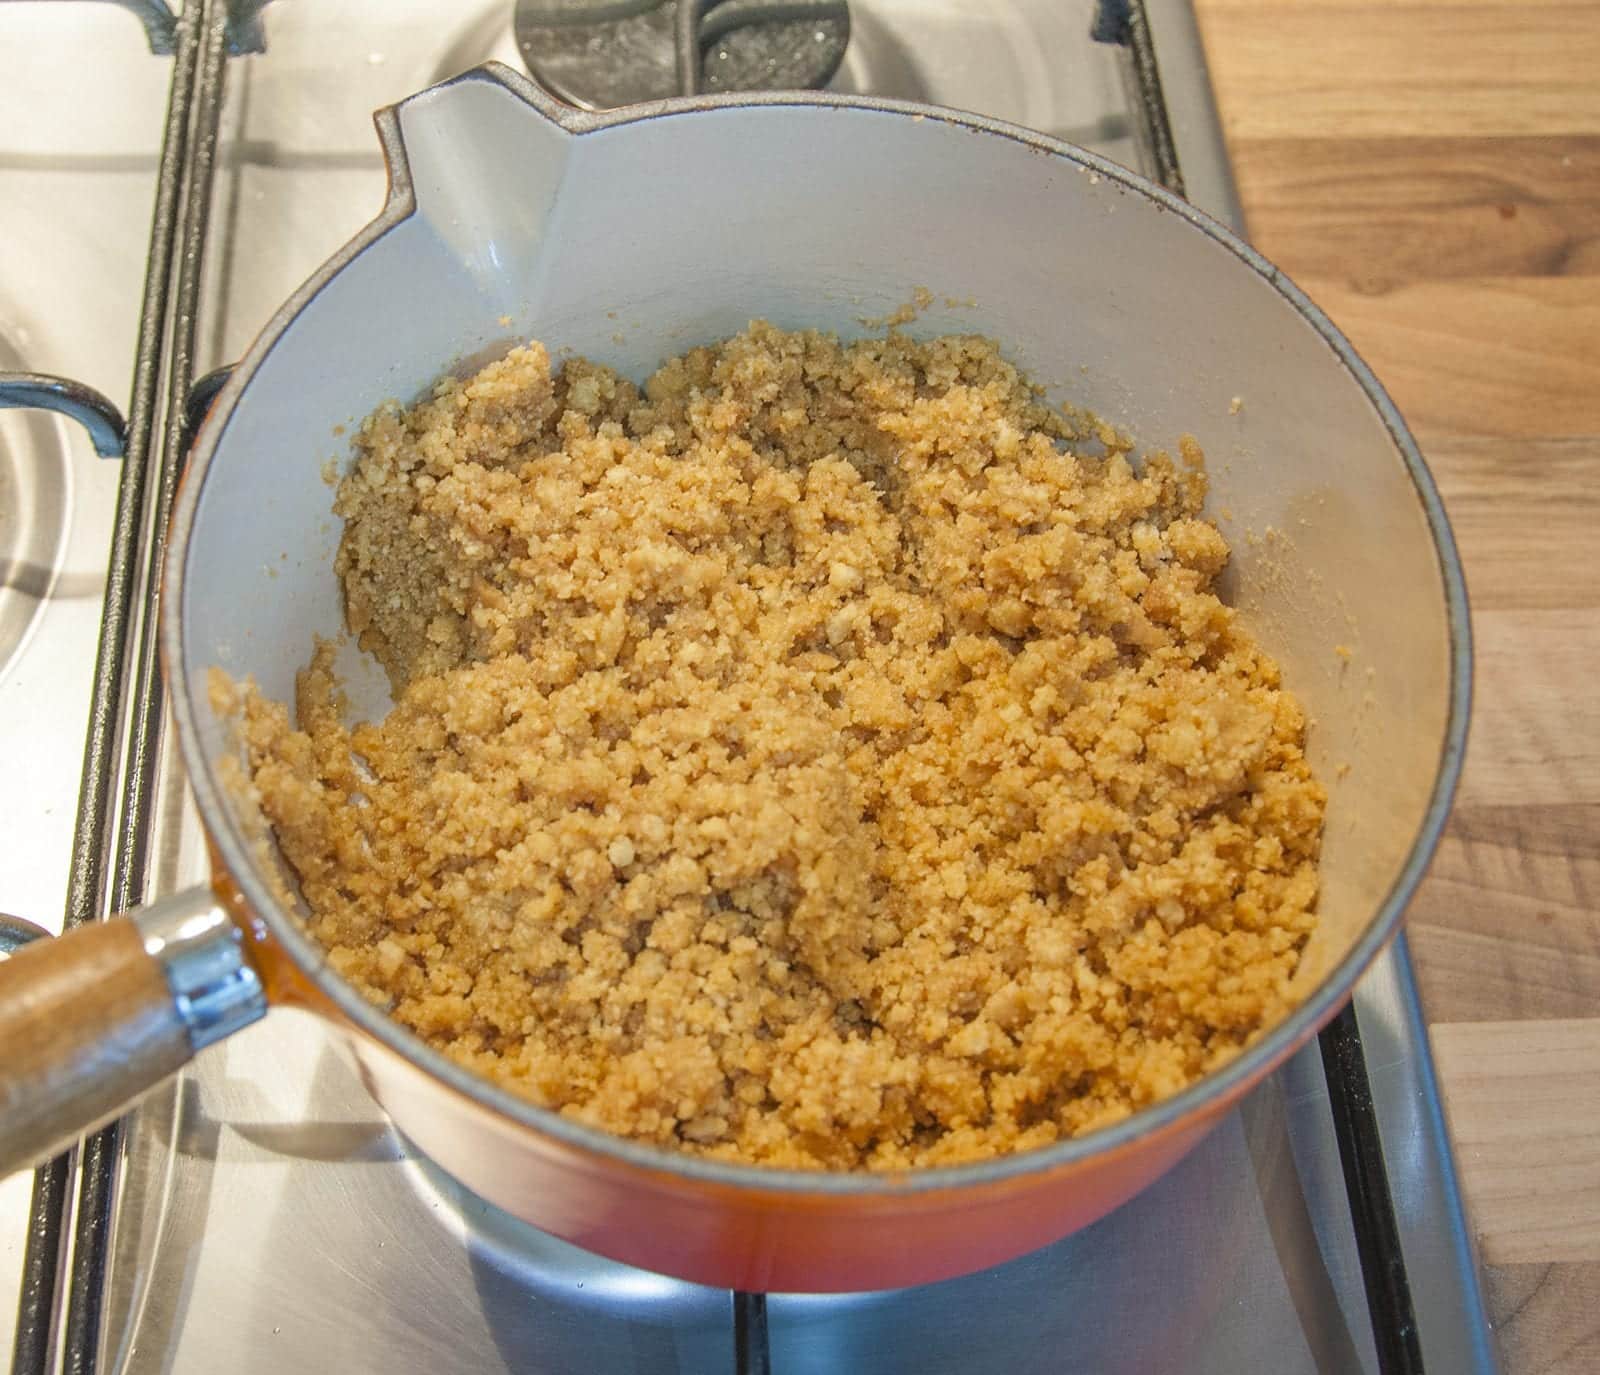
Mix in the biscuit crumb
Now tip the buttery crumb into a 20cm cake time and spread the crumb and pat down so that it covers the full base of the tin.
And there you go. The base now just needs to set so place it in the fridge while you make the filling.
3. The cheesecake filling
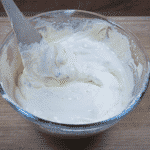
The filling is simple to make. First, place the cream cheese in a mixing bowl and mix with a spoon to lighten a little. Now, add the double cream and mix into the cheese. Finally, sieve the icing sugar over the cream cheese mixture and mix in. That’s the base cheesecake mix made.
Now the fun part. Take around 3/4 of your mini eggs.
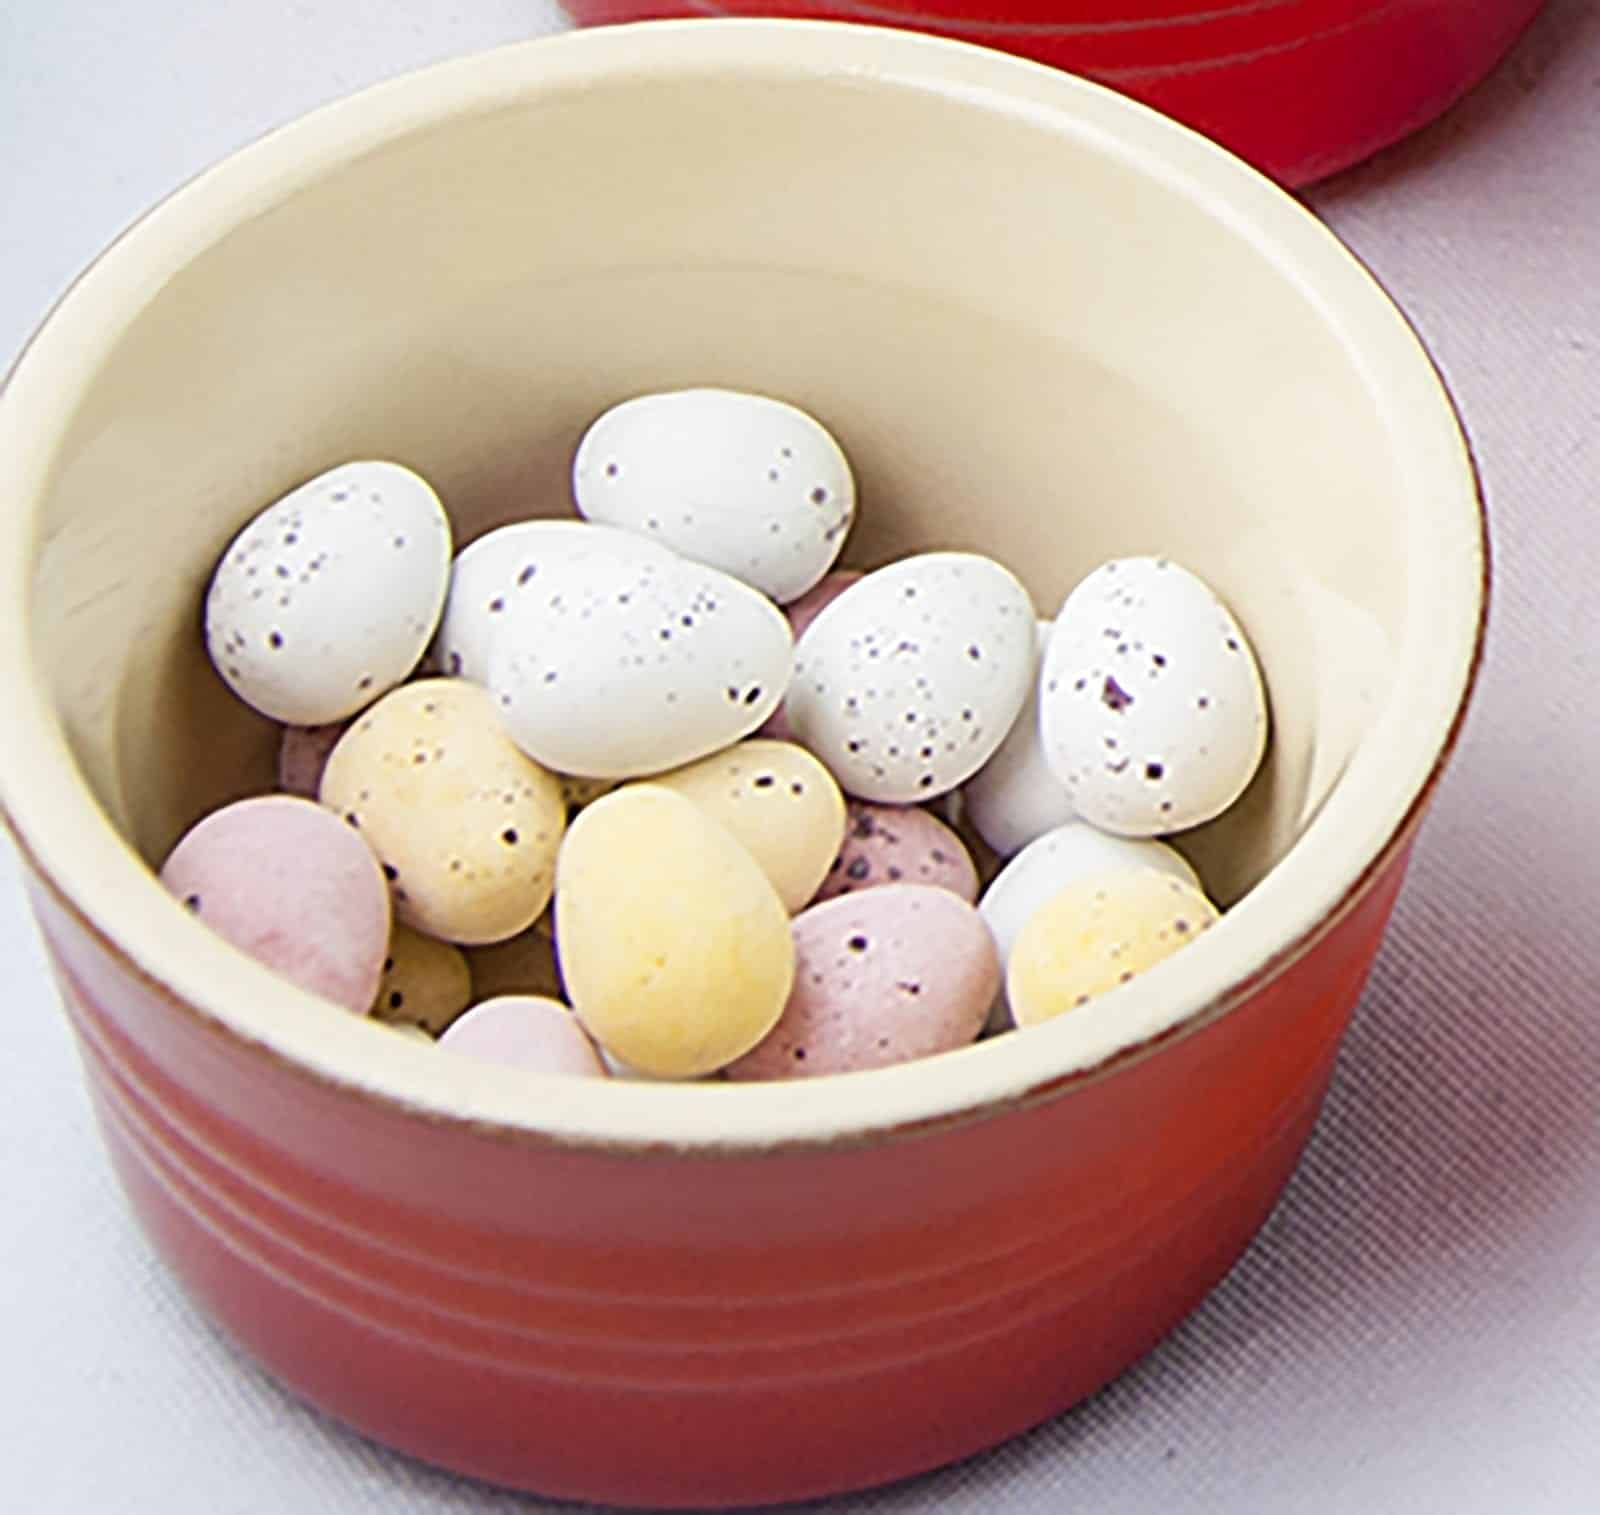
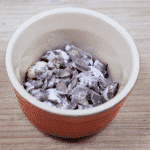
Mini chocolate eggs
And, using the same method as for the biscuits lightly bash the mini chocolate eggs.
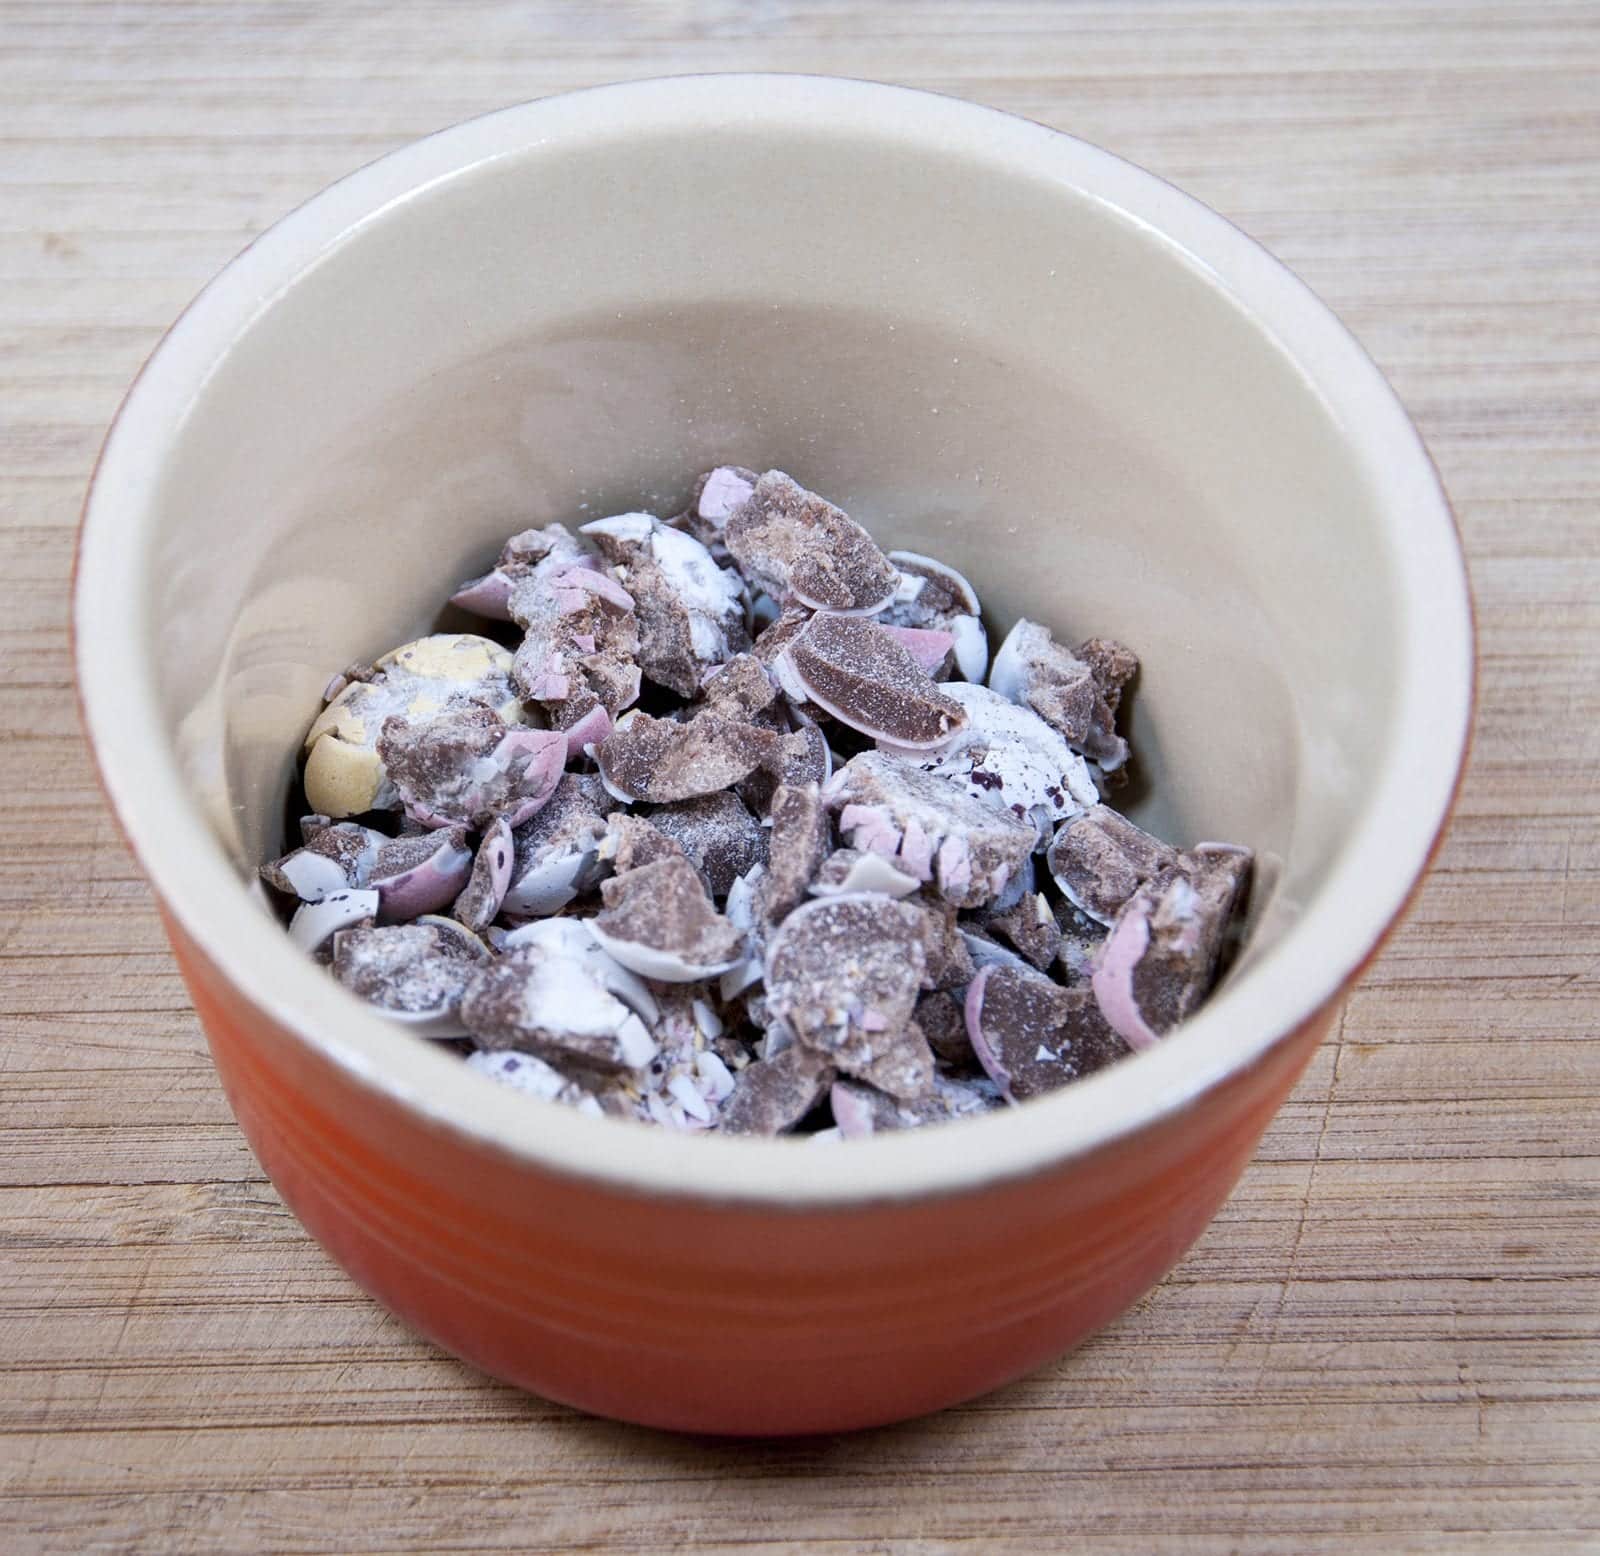
Lightly smash the mini eggs
Now, add these smashed eggs to the cream cheese mixture and mix in.
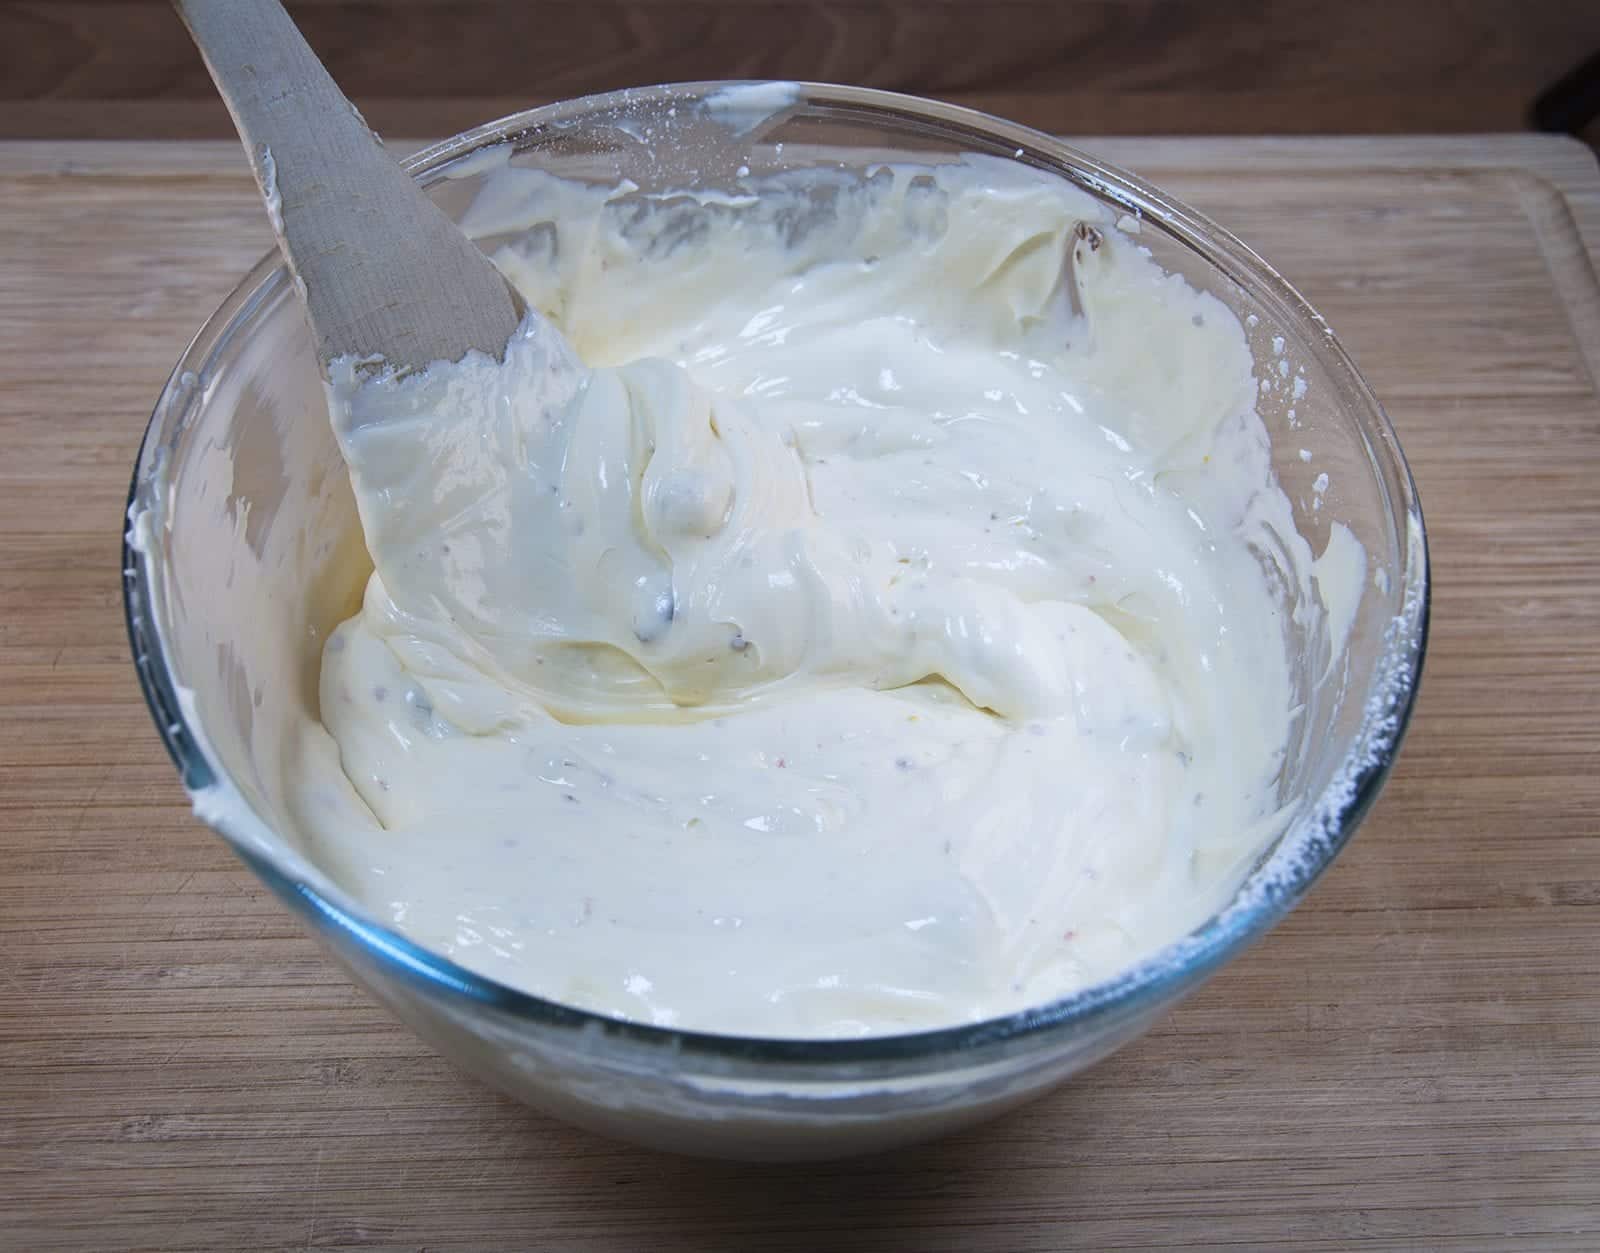
Mix in the broken mini eggs
4. Form the cheesecake
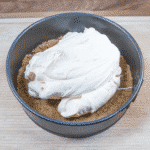
The base should now be firmer and the mixture is nice and soft. Now, spoon the cheesecake mixture onto the base. Place it in the centre of the cake tin.
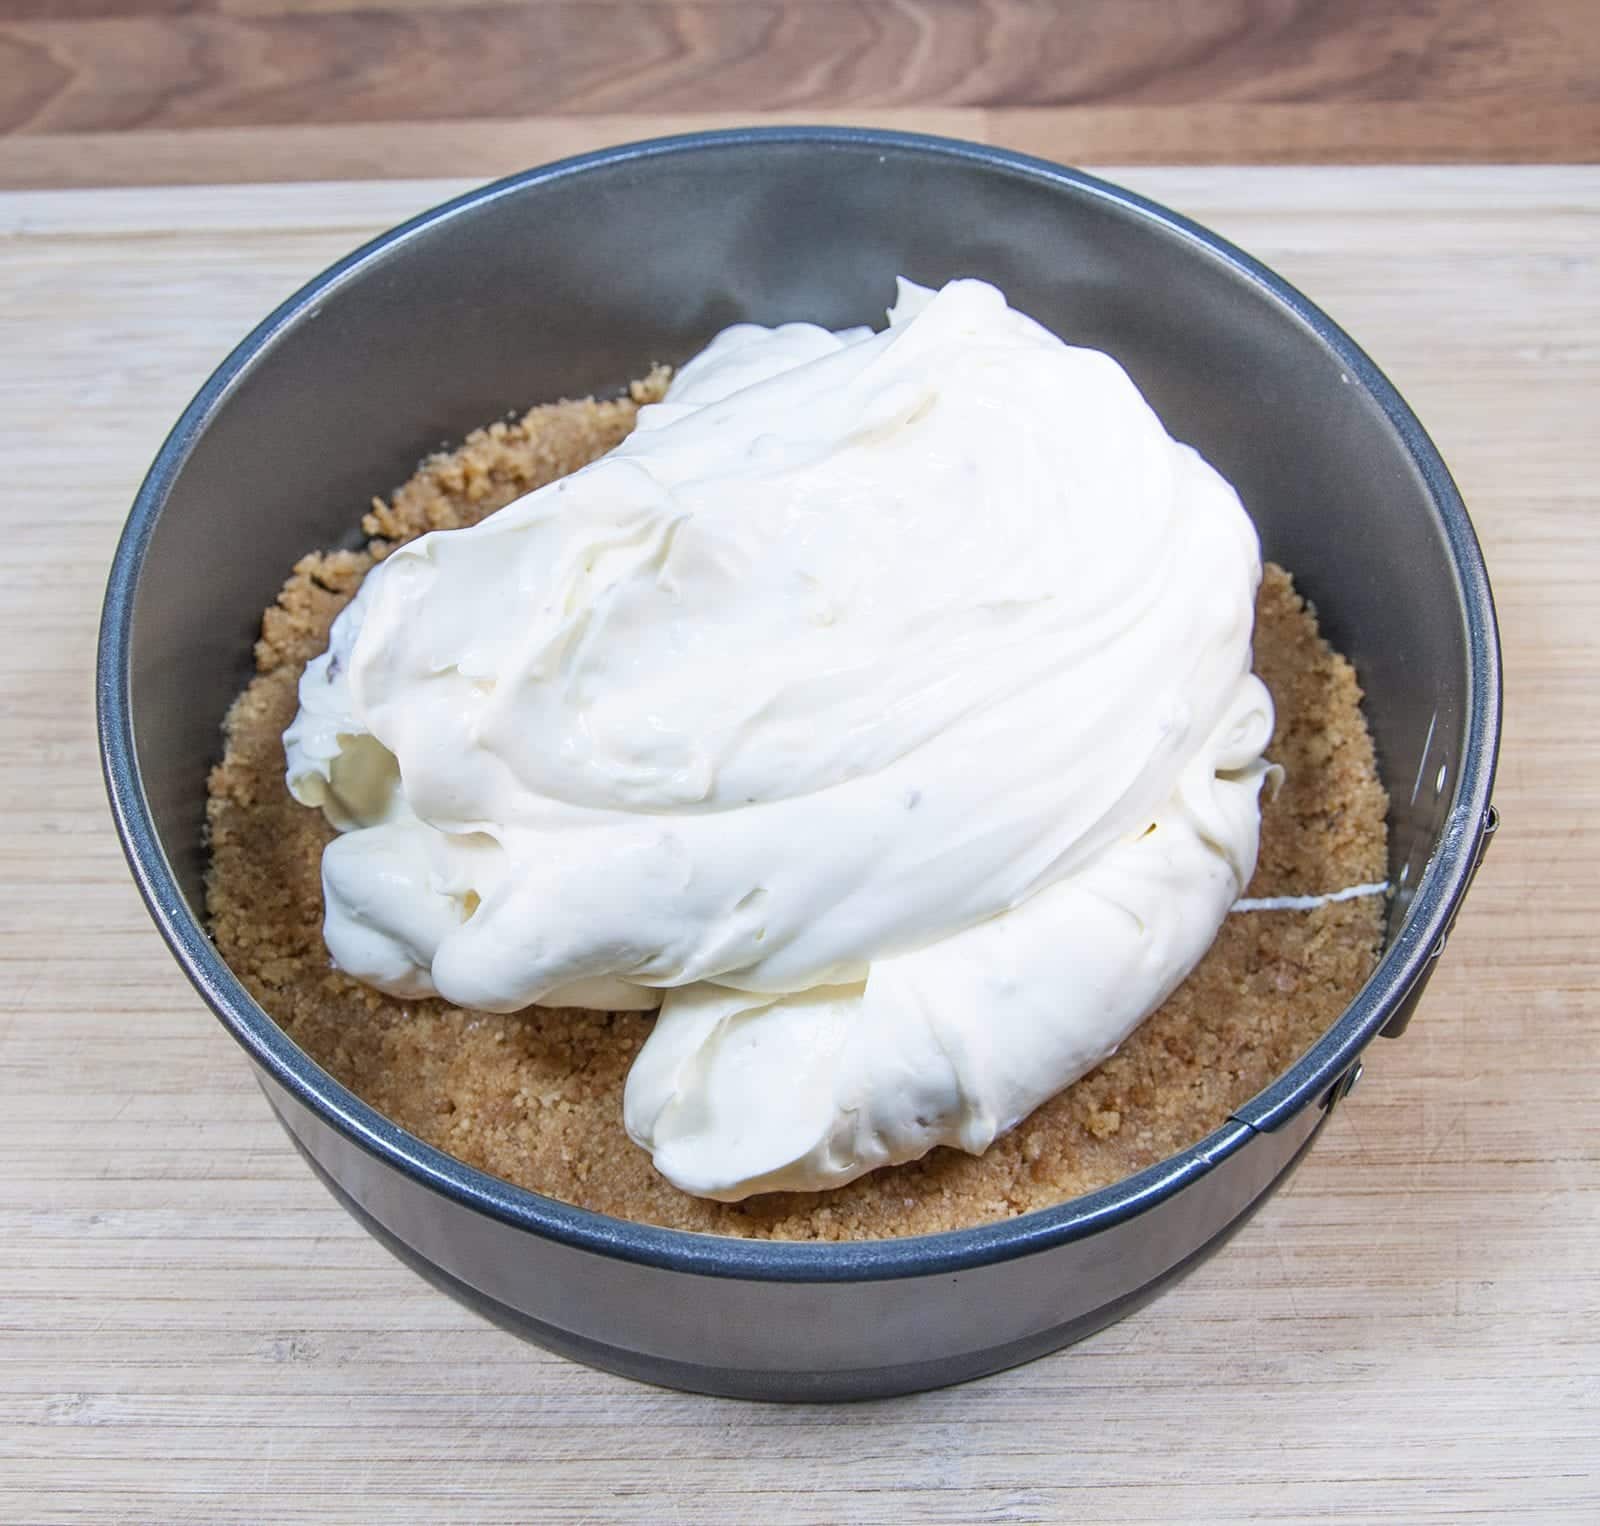
Spoon onto the base
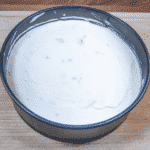
Now, using the curved side of a dessert spoon simply smooth the mixture to the edges of the cake tin keep spreading until you have an even height and smooth topping.
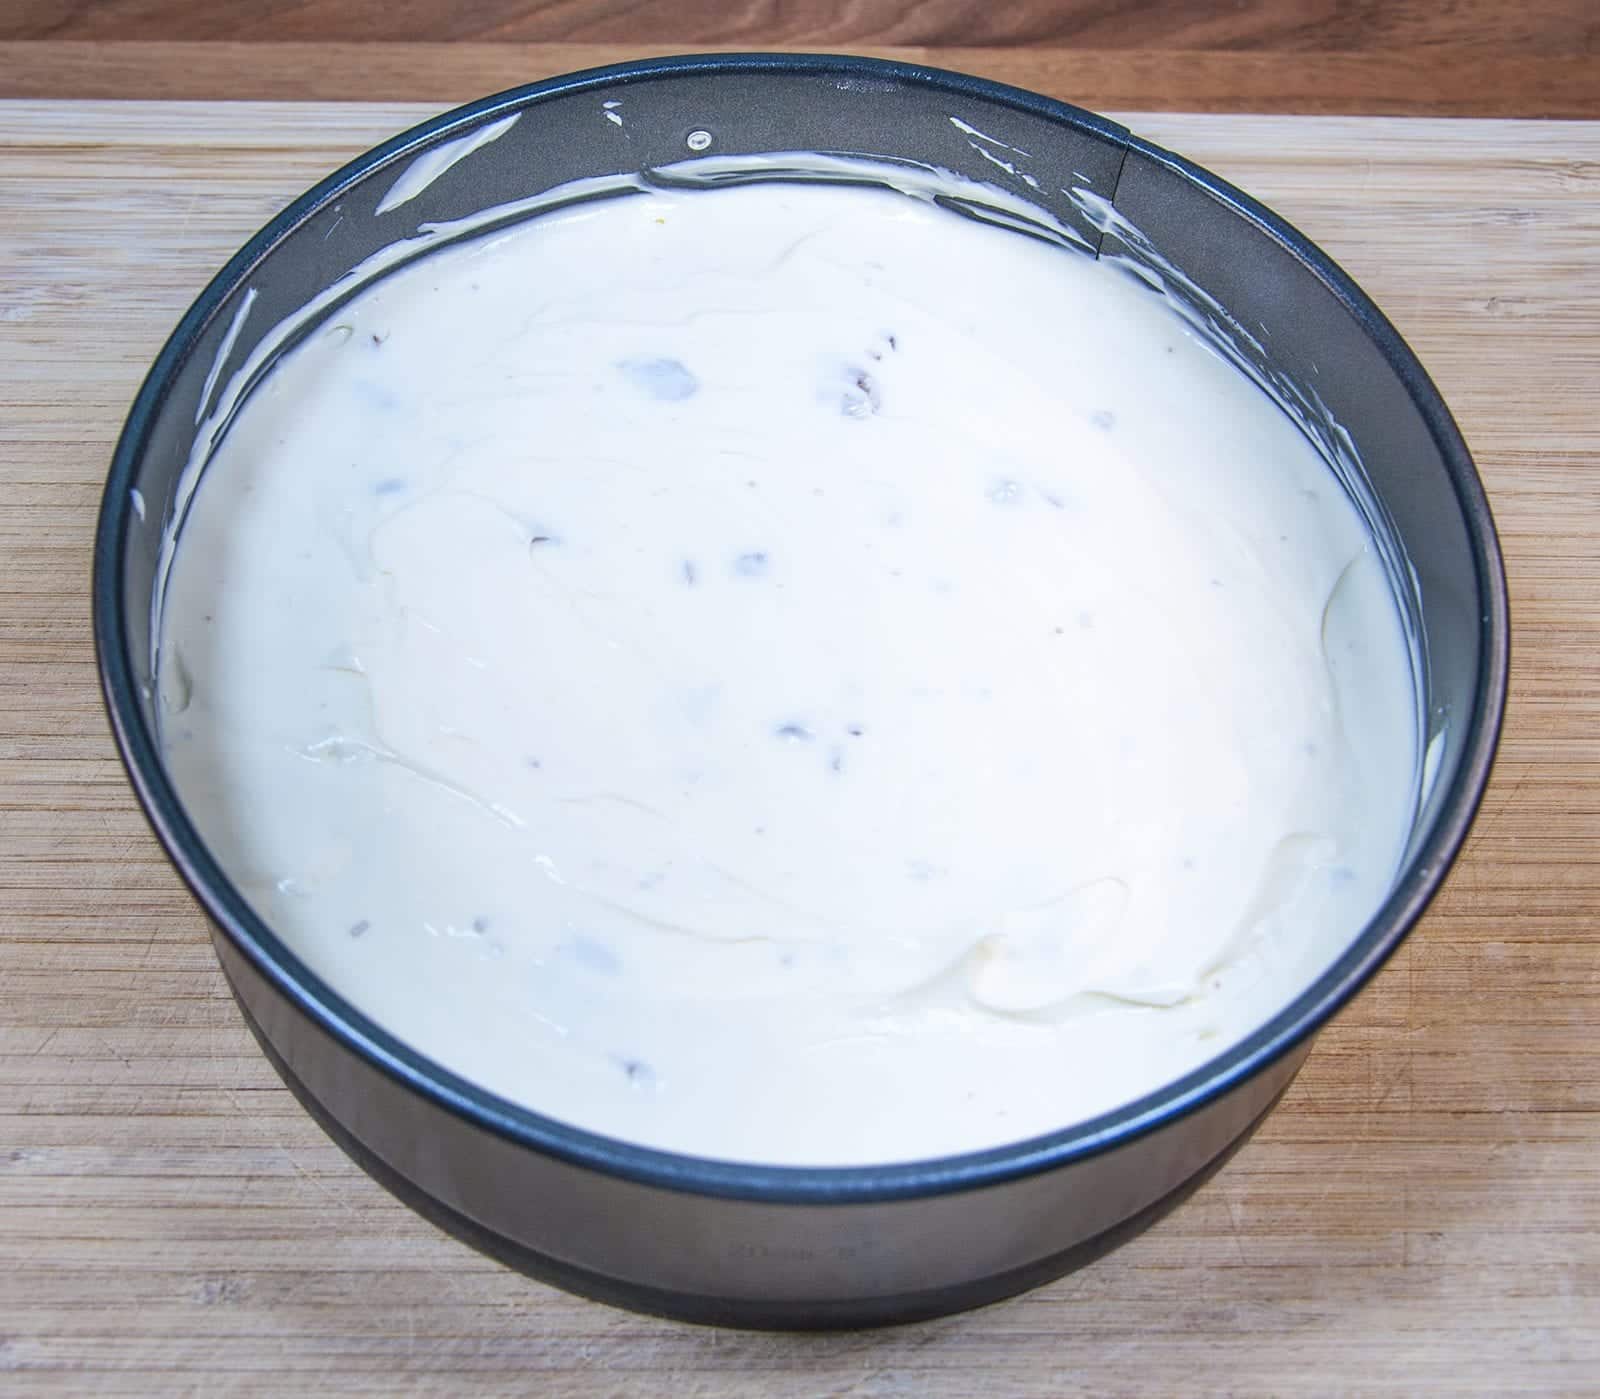
Smooth the topping
And there you have it. The cheesecake is almost complete. However, it now needs to set. Place some kitchen foil over the top and place in the fridge for at least 2 hours.
5. Remove the cake tin surround
There are a couple of ways to do this. For most home kitchens the easiest, and certainly the safest when cooking with the kids, is to simply get a pallet knife, put it in some hot water and then stick it into the cheesecake at the edge of the inside of the cake tin all the down to the base. Then drag this around the full inside of the circumference of the cake tin. Finally, loosen the cake tin latch and you can then remove the tin itself.
For those with a little more adventurous disposition, you can use a kitchen blow torch to soften the cheese and leave a more smooth finish to the outside. The video below shows how to do this.
6. Decorate the cheesecake
With the cheesecake out of its tin, and the kids crying out for a piece, all that’s left to do is decorate it. This is a Cream Egg Cheesecake so all we really need are cream eggs. There are a few mini chocolate eggs spare too though so let’s not have those going to waste.
To decorate just halve the cream eggs with a sharp knife (it’s better if they have been in the fridge for an hour or so) and place in the centre of the cheesecake. I tend to use 4 eggs cut in half to equate to the 8 portions from the cheesecake. Now scatter the remaining mini chocolate eggs and away you go.
Kids! No more waiting. Cream Egg Cheesecake is officially being served…
And that’s all folks!! A sweet treat for you and the family over the Easter period. Or anytime if you fancy. Cream Egg Cheesecake. Yum!!
7. Full Video Tutorial
I hope you enjoyed this naughty but nice post. A lot of sweetness I know but sometimes we just have to indulge ????. Why not try some of the other great recipes from The Yum Yum Club.
As always, many thanks for reading and until next time… Steve.
8. Nutritional values
9. Printable recipe

Look at this Cream Egg Cheesecake. How much more sweet can you get!? Great for the Easter celebrations and also great for making with the kids!! Yum! | theyumyumclub.com
- 10 digestive biscuits
- 1/2 cup unsalted butter Metric 100 grams
- 3.5 cups cream cheese Metric 600 grams
- 1/2 cup icing sugar Metric 100 grams
- 10 fl oz double cream Metric 300 ml
- 4 cream eggs
- 1 packet mini eggs
-
Gather all of the ingredients together.
-
Make the cheesecake base by first crushing the biscuits to a crumb.
-
Now, melt the butter in a saucepan.
-
Add the biscuit crumb to the butter and mix in well.
-
Tip the buttery crumb into a 22cm cake tin and spread evenly across the base. Press down and place in the fridge to set.
-
Make the cheesecake filling but first stirring the cream cheese to a creamy texture.
-
Add the double cream and mix together.
-
Finally, sieve the icing sugar into the cheese mixture and mix in well.
-
Now lightly crush 3/4 of the mini eggs and mix these into the cheesecake filling.
-
Spoon the cheesecake filling onto the base.
-
Spread evenly and smooth the top. Leave to set in the fridge for 2 hours.
-
Place the cake tin on a rotating cake stand and, using a kitchen blow torch, lightly heat the sides of the cake tin until it can be lifted from the cheesecake smoothly.
-
Finally, arrange the cream eggs and remaining mini eggs on the top of the cheesecake and serve. Yum!!


Leave a Reply