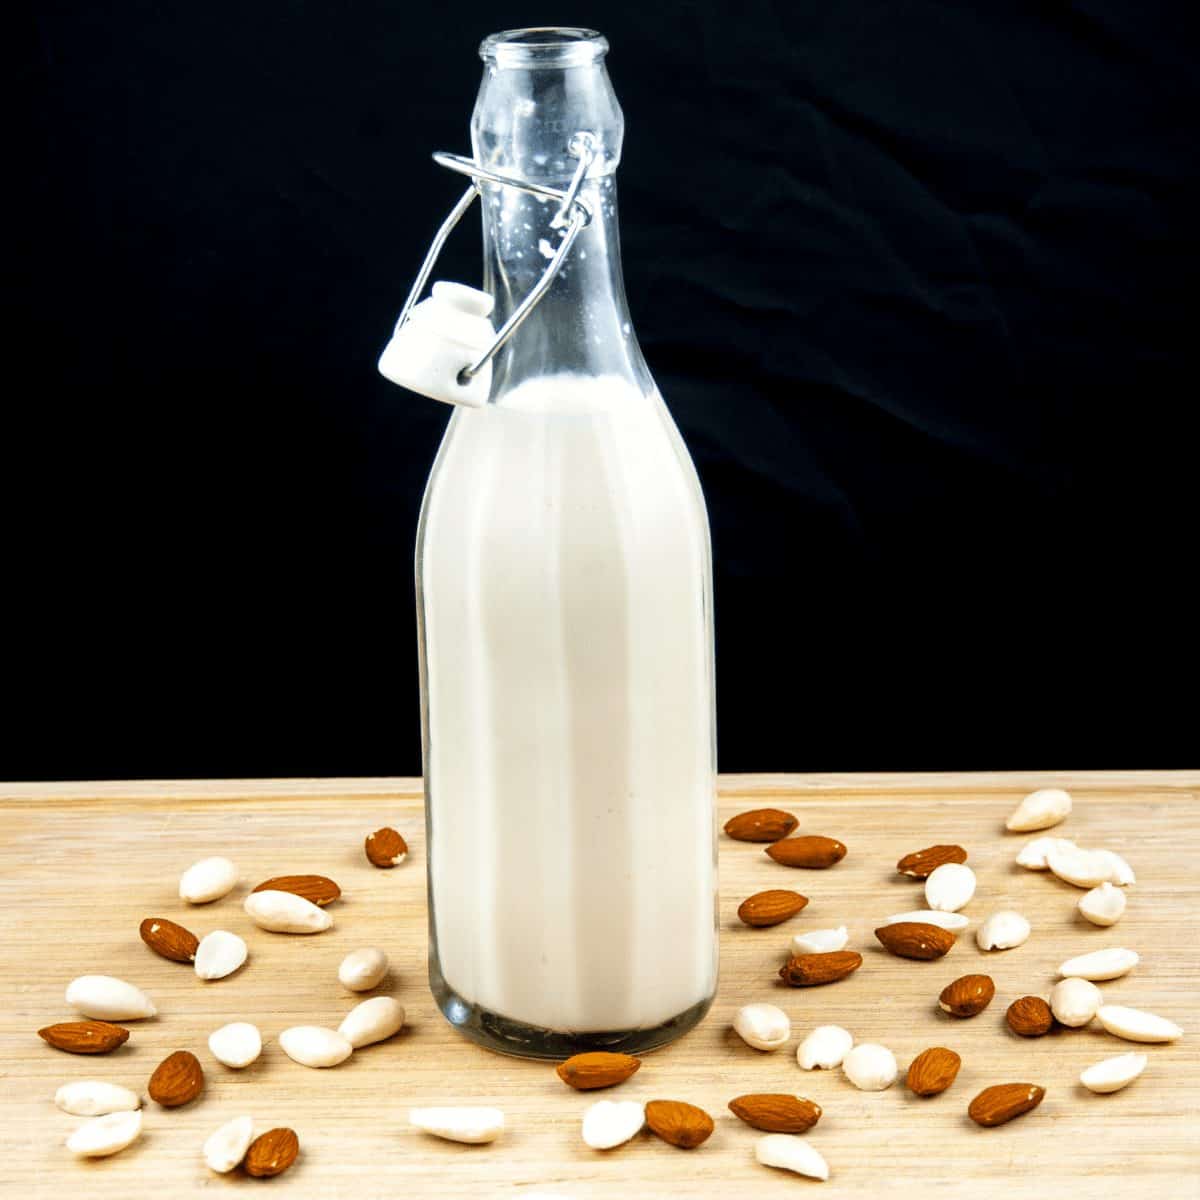
Ever wondered how to make your own almond milk, or any nut-based milk for that matter? Well, it’s far easier than you may think and certainly easier than milking a cow!!
But seriously, there are more and more people consuming less and less dairy products, whether it be through choice or for medical reasons. Either way, there is always more of a sense satisfaction if you’ve made something yourself than bought it.
So what I’m going to show you here is how to make almond milk but note that this process can be used for any other nut-based milk you may fancy. I’ll detail any slight differences later.
Before I milk the almonds, so to speak, I’d like to talk a little about the health benefits of almond milk.
1. The health benefits of almond milk
Providing unsweetened almond milk is used it will be low in calories and low in sugar. However, there are many other benefits than that.
a) Nutrients
Almond milk is naturally rich in many vitamins and minerals. However, it is particularly high in vitamin E. Vitamin E is a natural antioxidant and so supports our immune system and helps fight off illnesses such as cancer, heart disease, and diabetes.
b) Low in calories
This was mentioned above but I wanted to add here that because this is homemade almond milk you have the control on the calorie count. Raw almonds are relatively high in calories and fat, although zero in cholesterol. However, when you make the milk, you can decide on how much water you want to add. The more water, the more the almond milk is being diluted and thus, proportionately, fewer calories.
Most almond/water suggested ratios make almond milk that gives a calorie level similar to or below skimmed cows milk.
c) Almond milk is dairy free
It might sound obvious but for those who choose, or who are forced due to medical reasons, to reduce or remove the amount of dairy in their diet almond milk is a great substitute for cow’s milk. It is 100% lactose-free and suitable for anyone who is lactose intolerant or on a vegan diet.
There are other benefits to almond milk and for those interested, I recommend you have a look at this very informative article from Medical News Today ▶
So let’s get on an make some…
2. Soak the almonds
As with all nut-based milk, the nuts have to have their skins removed. Now, of course, you can buy almonds, and other nuts, with their skins removed, and you may want to do this in the future. However, all being budding chefs, we should know how to make the recipe properly before “cutting corners”. Right? ????
For almonds, simply put the almonds in a large bowl or jug and cover with water.
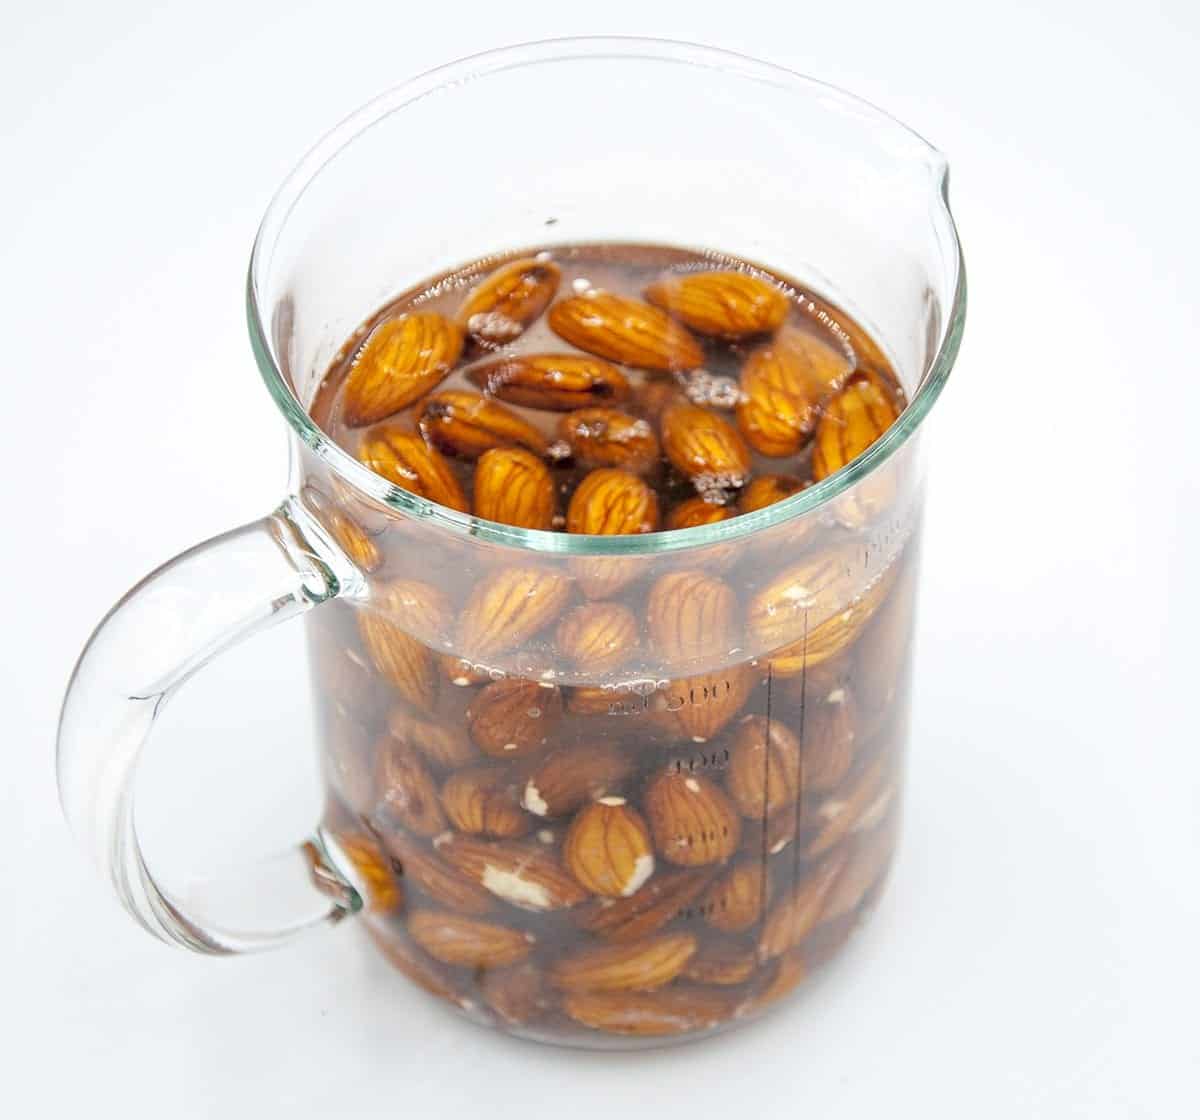
Soak the almonds overnight
Note that the nuts absorb some of the water so make sure you have enough water to continue to cover the nuts even after the absorption.
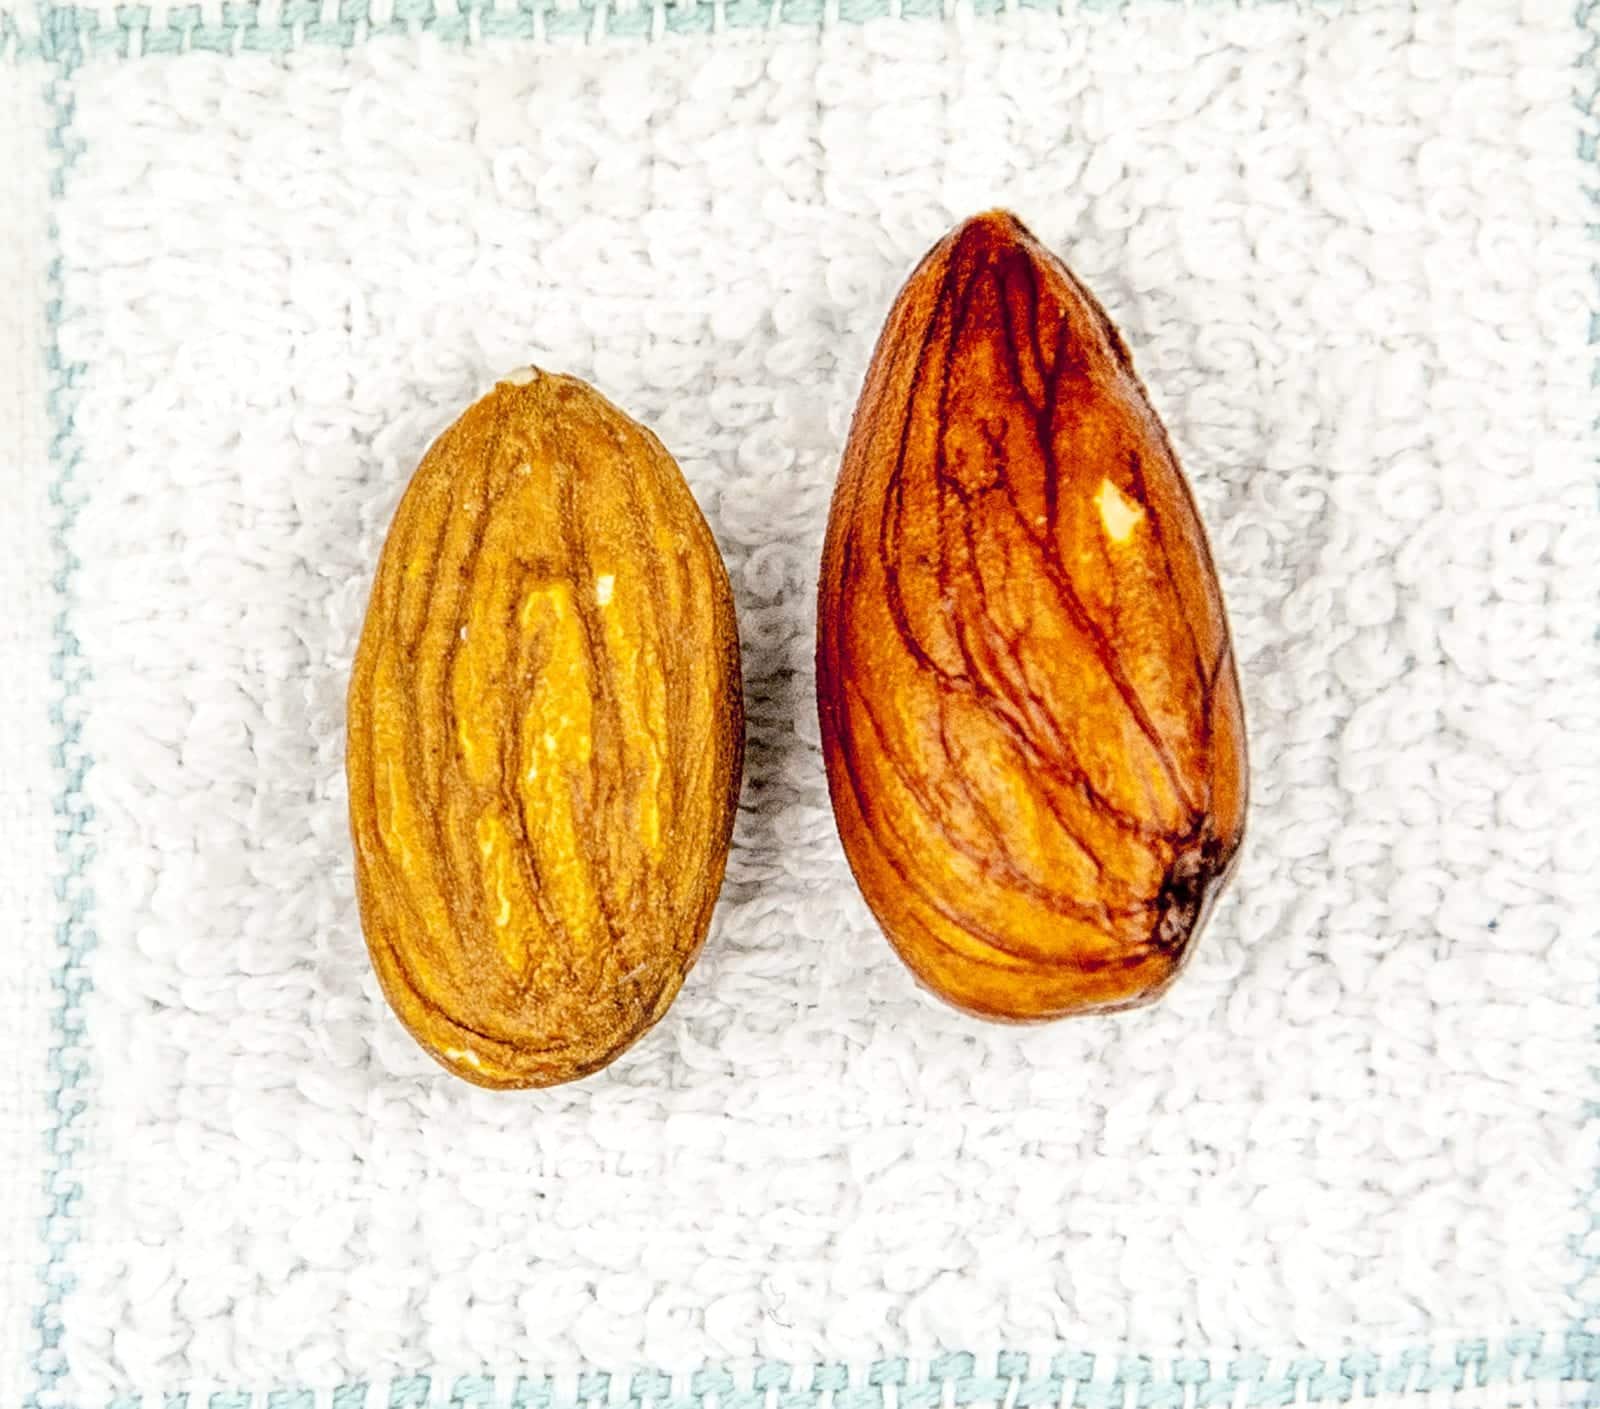
The nuts absorb the water
To remove the skins from almonds, the nuts themselves should be soaked for at least 8 hours and, preferably, overnight. For other nuts the soaking period is different. The below table gives and indicative soaking time for a number of common nuts used to make nut-based milk.
-
- Almonds – 8 to 12 hours
- Brazil – no soaking required
- Cashews – 2 hours
- Hazelnuts – 8 hours
- Peanuts – 8 hours
- Pecans – 4 to 6 hours
- Pine nuts – 8 hours
- Pistachios – no soaking required
- Walnuts – 4 hours
Whichever nut you are using, the following method applies to all.
3. Remove the skins
Once the almonds have finished soaking simply remove the skins using your fingers and running the nuts under a water tap. This process can be a bit laborious so if you have a few little helpers hanging about then you may want to get them to lend a hand.
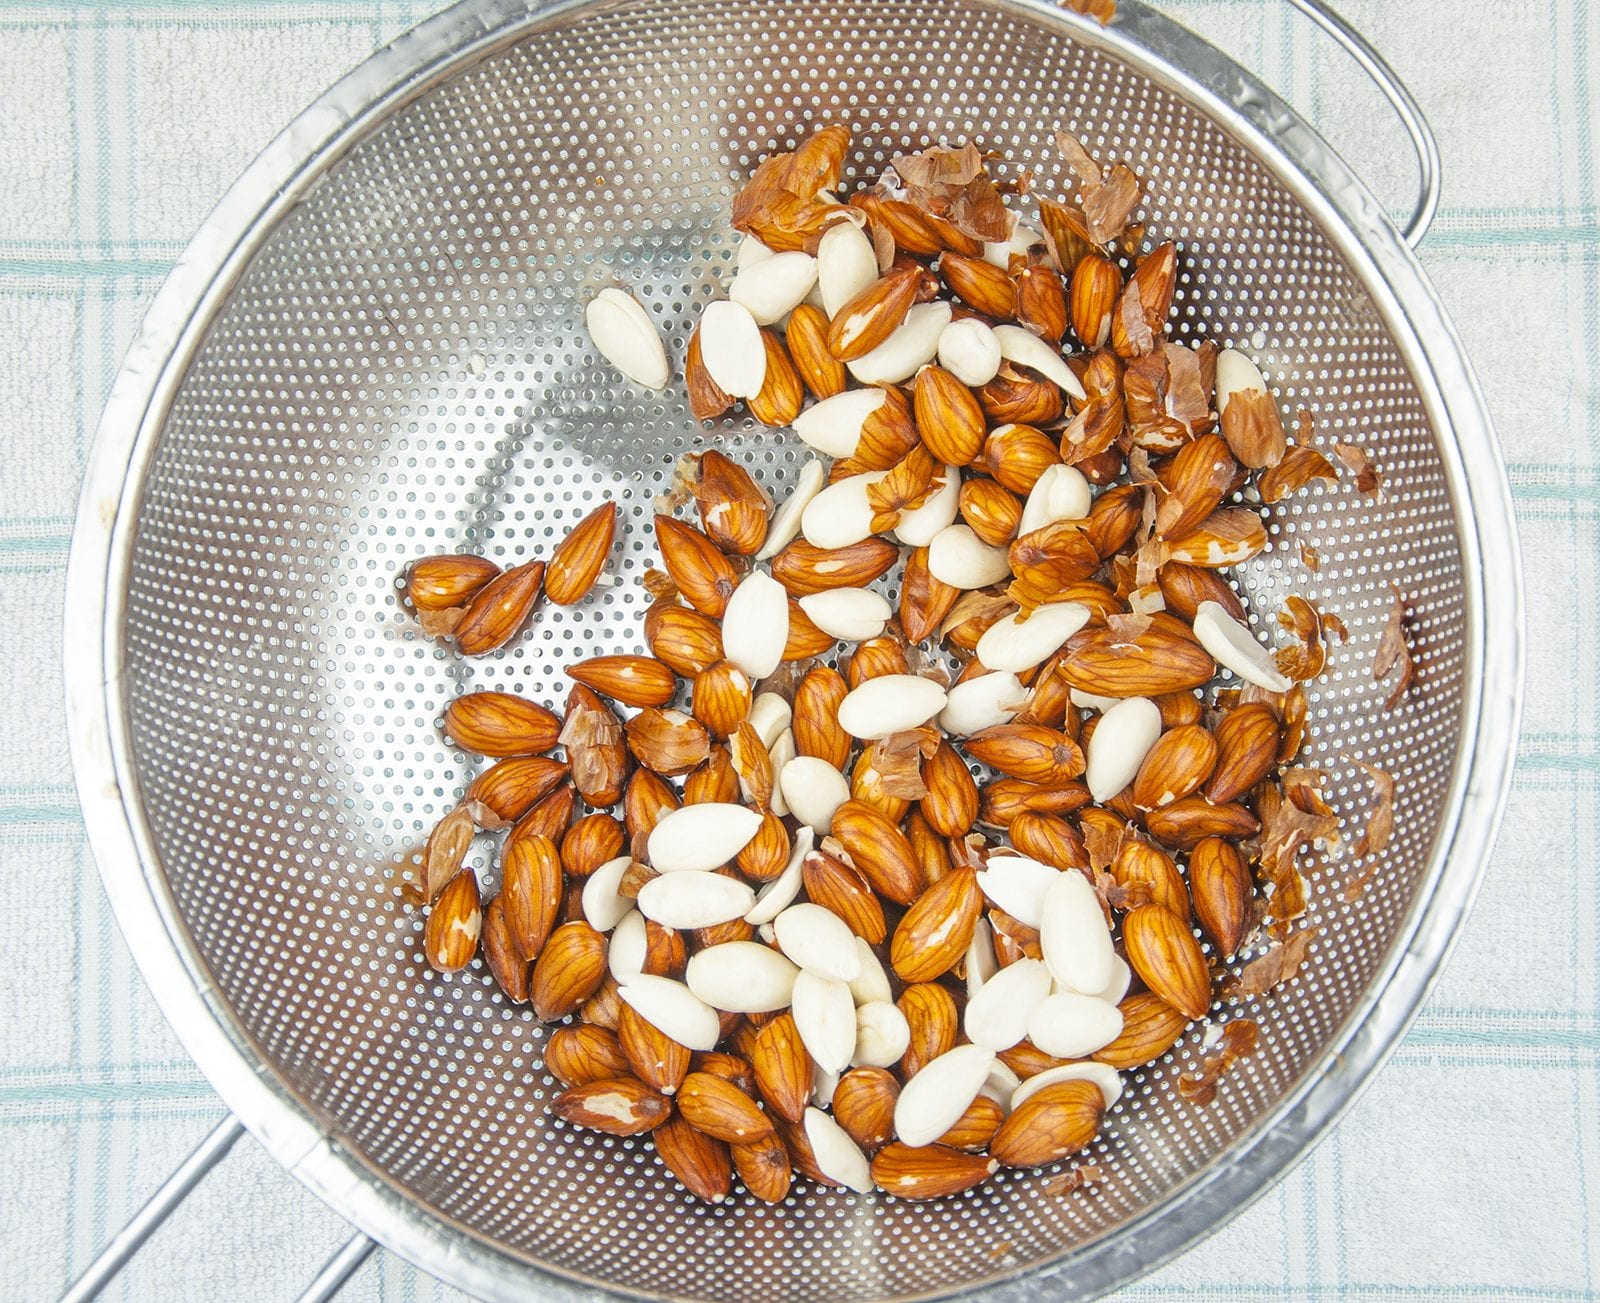
Peel the skins
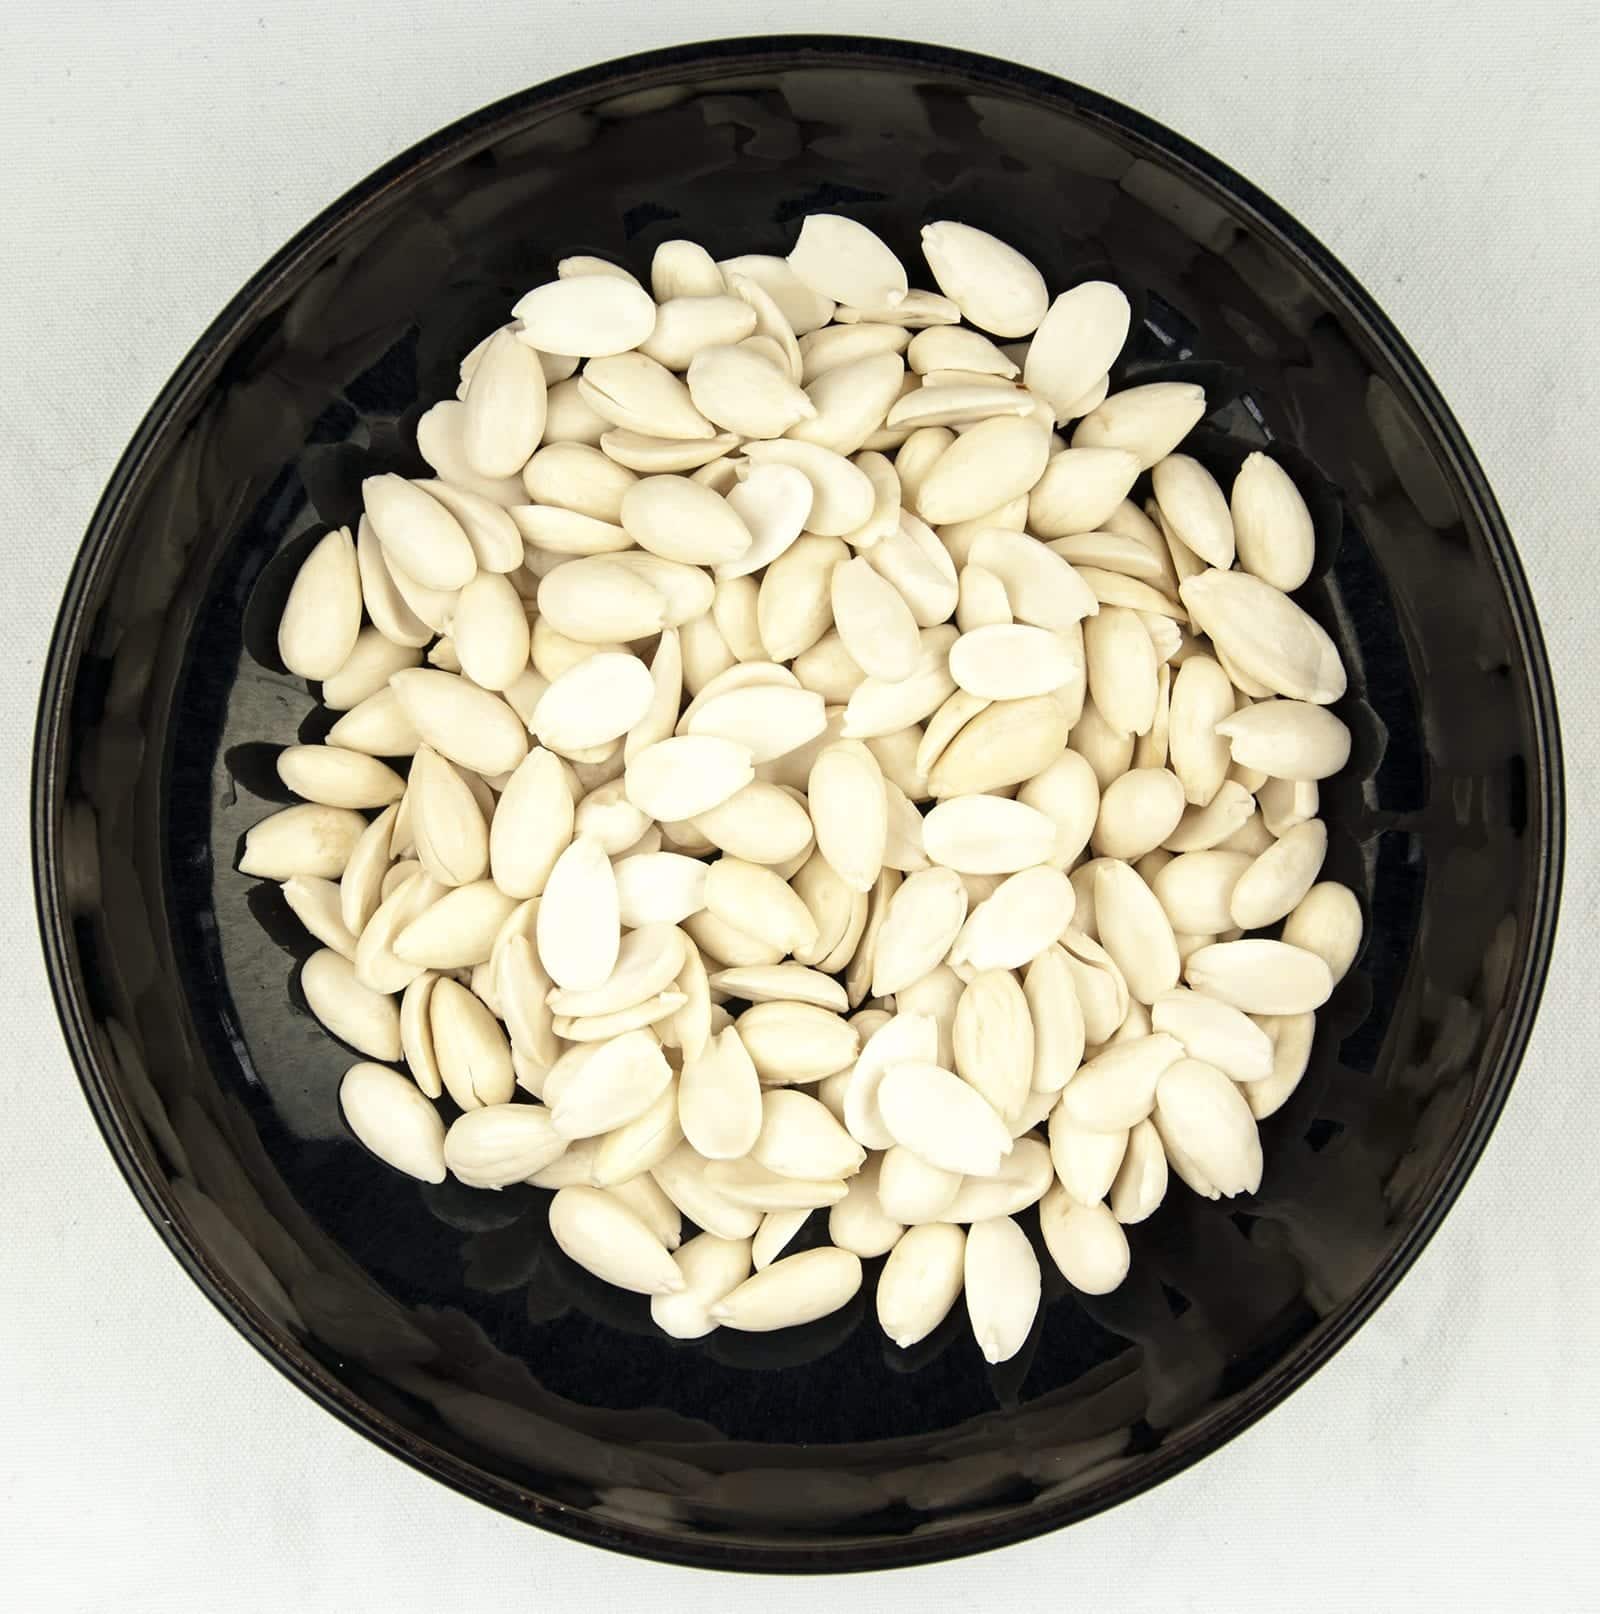
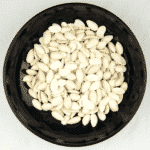
Once all of the skins have bee removed, dry the nuts in some kitchen paper and set aside for whenever you want to make the almond milk.
Skinned almonds
4. Make your own almond milk
For the final stage of making your own almond milk add the skinned almonds to your blender plus double the amount of cold water. Using a ratio of 2 parts water to 1 part almonds makes a similar fat level of milk to 2% cows milk. Blitz this mixture until smooth.
Once smooth the almond milk should be passed through a fine sieve or some muslin cloth. Make sure all of the liquid is pressed or squeezed from the blended nuts.
And that’s it my fine foodie friends. A short but informative post bestowing the virtues of almond milk, whether you make it yourself or buy it ready-made.
I hope do you found this useful and, if so, why no look at some of the other Yum Yum Club recipes. I’ve provided a selection below.
As always, many thanks for reading. I really do appreciate your time. Until next time… Steve.
5. Nutritional values
6. Printable recipe
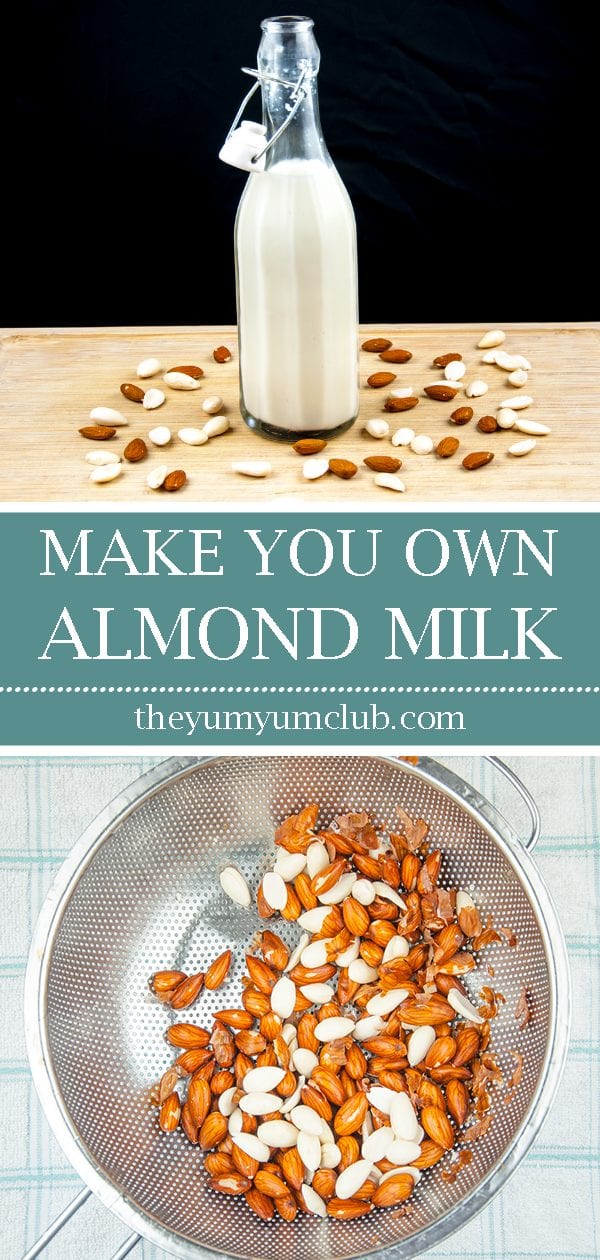
Ever wondered how to make your own almond milk? Believe me, it's easier than milking a cow! Diary free goodness in your own kitchen. And the kids can help too! | theyumyumclub.com
- 200 grams raw almonds
- 400 ml water
-
Soak the raw almonds for at least 8 hours and, preferably overnight. Make sure there is enough water coverage to allow for the almond water absorption.
-
Once soaked, peel the skins off under a running cold water tap.
-
Once peeled dry the almonds on kitchen paper and then place in a bowl.
-
When ready to make the almond milk add the nuts and around double the amount in cold water to your blender and blend until smooth.
-
Now, pass the smooth liquid through a fine sieve or some muslin cloth making sure to squeeze the last of the milk our from the mixture.
-
And there you have it. You have made your own almond milk. Why not now make a healthy smoothie.



Leave a Reply