Keto Cauliflower Pizza Crust Recipe
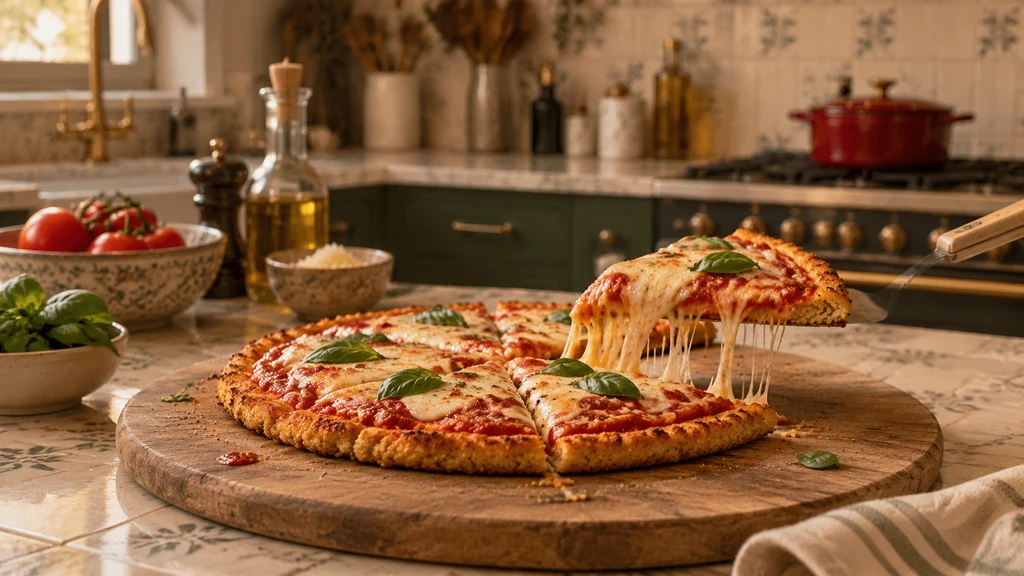
Table of Contents
Right then, my Foodie Friends. Swap the usual dough for riced cauliflower and you still get a golden, firm base you can load with toppings, just without the carb hit. Mozzarella, Parmesan, egg and a little dried oregano and garlic powder go into the mix. Keto or not, it’s a proper way to use up a head of cauliflower instead of just steaming it.
The Yum Yum Club · Kitchen Tested Recipe
Keto Cauliflower Pizza Crust Recipe
Prep: 20 mins · Cook: 22 mins · Total: 42 mins
Ingredients
2 servingsInstructions
-
1
Preparation: Preheat your oven to 425°F (220°C) and line a baking sheet with parchment paper.
-
2
Cauliflower Rice: Place the cauliflower florets in a food processor and pulse until they resemble rice-like grains.
-
3
Microwave: Transfer the cauliflower to a microwave-safe bowl and microwave for 5 minutes until tender. Allow it to cool for a few minutes.
-
4
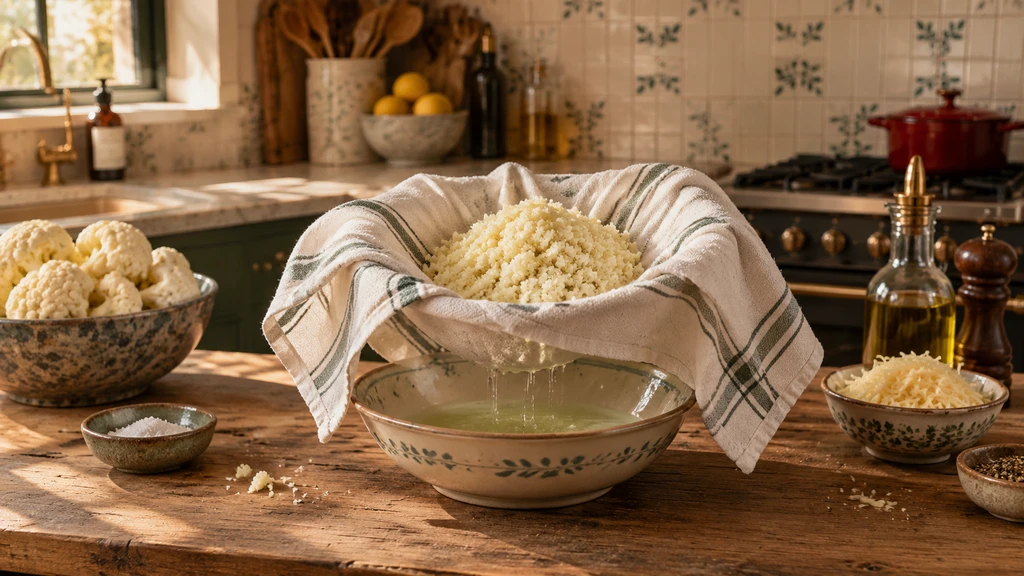
Remove Moisture: Place the cooked cauliflower in a clean kitchen towel or cheesecloth and squeeze out as much moisture as possible.
-
5
Mixing the Ingredients: In a mixing bowl, combine the squeezed cauliflower, shredded mozzarella cheese, grated Parmesan cheese, dried oregano, garlic powder, salt, and black pepper. Mix well.
-
6
Adding the Egg: Add the beaten egg to the cauliflower mixture and stir until everything is evenly combined.
-
7
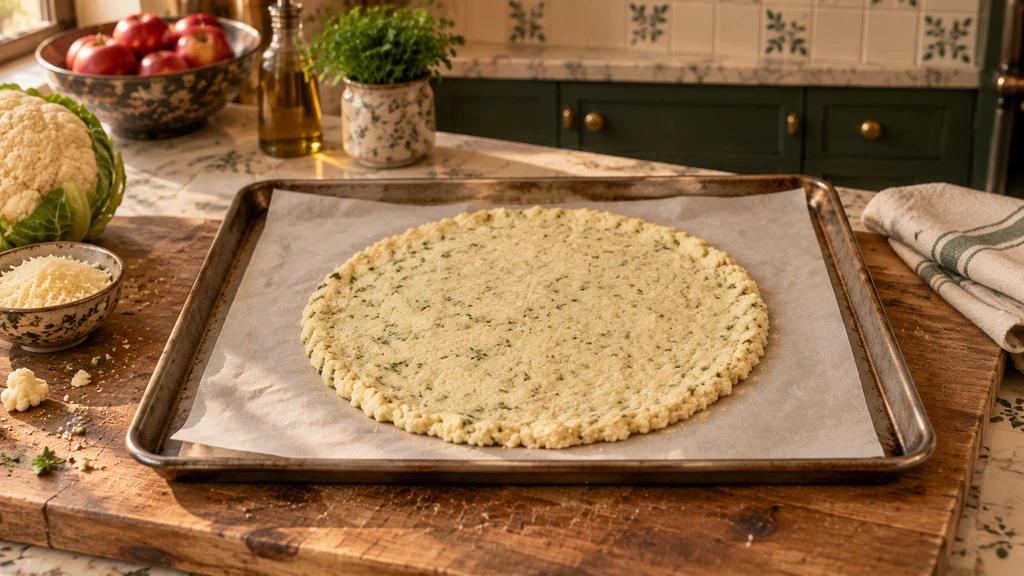
Shaping the Crust: Transfer the mixture to the prepared baking sheet and shape it into a thin, round crust.
-
8
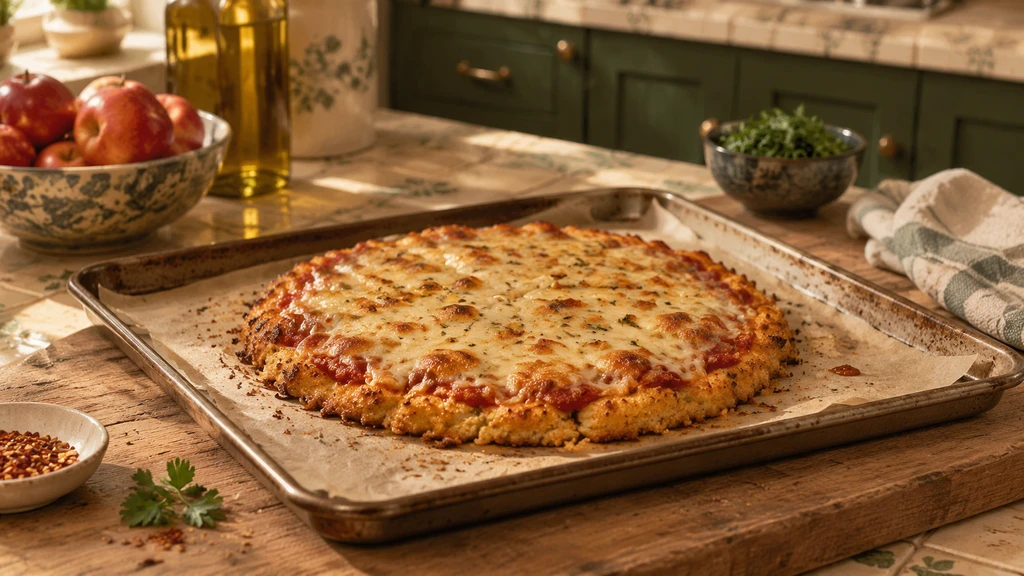
Baking: Bake in the preheated oven for 12-15 minutes until the crust is golden brown and firm.
-
9
Cooling: Remove the crust from the oven and let it cool for a few minutes.
-
10
Toppings: Add your favorite pizza toppings to the crust, such as tomato sauce, cheese, vegetables, and meats.
-
11
Final Bake: Return the pizza to the oven and bake for an additional 8-10 minutes until the cheese is melted and bubbly.
-
12
Serving: Remove from the oven and let the pizza cool slightly before slicing and serving.
Kitchen Notes & Tips
- Squeeze the cooked cauliflower as dry as you can in a clean towel or cheesecloth — skip this and the crust stays soggy and won’t hold together.
- Press the mixture into a thin, even round. A thick crust takes longer to firm up in the middle and stays softer than you want.
- Let the crust cool for a few minutes after the first bake before you add toppings — it firms up as it sits, which makes it easier to handle.
- Go easy on wet toppings. A cauliflower base holds together well but can still turn soft under a heavy, watery sauce.
- Leftover slices reheat better in a hot oven or air fryer than in the microwave, which softens the crust.
Why cauliflower makes a decent pizza base
Cauliflower turns into something close to couscous once you pulse it in a food processor, and that’s the whole trick here. It’s mild enough that it doesn’t fight with the cheese or the toppings. The point is a crust that bakes up golden and firm, right? That’s what you want from a pizza base.
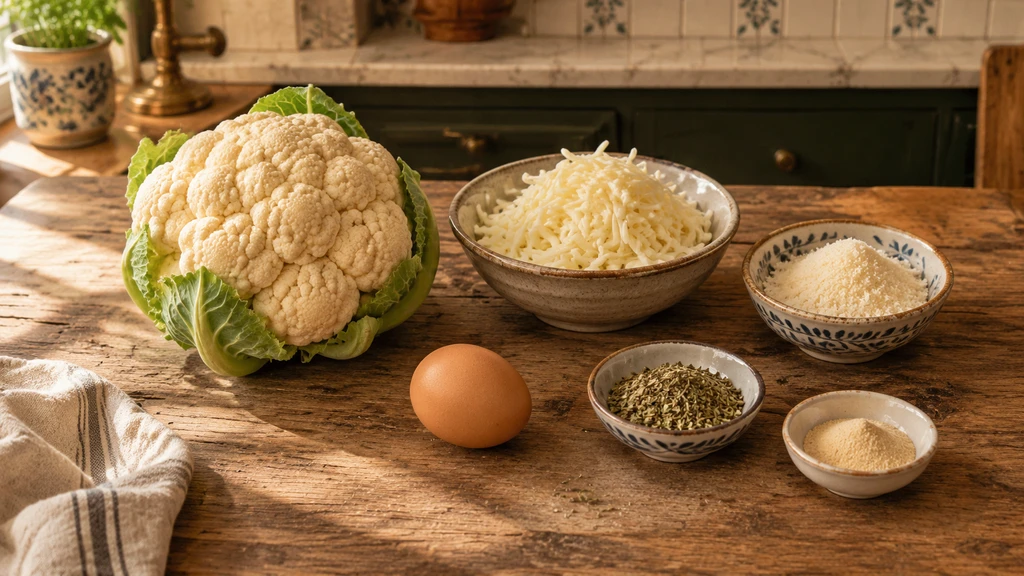
The mozzarella and Parmesan give the crust its cheesy backbone, while the oregano and garlic powder are there to make it taste like pizza rather than like plain cauliflower with cheese. The beaten egg goes in last, mixed through the whole lot, and the mixture goes straight onto the baking sheet from there.
The step that actually decides whether this works
Ricing and microwaving the cauliflower is the easy part. The step that makes or breaks the crust is squeezing it dry afterwards. Cauliflower holds a surprising amount of water once it’s cooked, and if you don’t get most of it out, that water has nowhere to go but into the baking sheet, and your “crust” turns into a wet, floppy disc that won’t hold a slice of pepperoni, let alone a scoop of sauce.
As a tip, a clean kitchen towel or a square of cheesecloth both do the job. Twist it tight over the sink and keep going well past the point where it feels dry; there’s almost always more water hiding in there than you’d expect. The drier the cauliflower, the firmer and more pizza-like the finished base, so don’t rush this bit just to get to the fun part with the toppings, right?
Shaping and baking without a soggy middle
Once the cauliflower’s mixed with the cheeses, egg and seasoning, press it out thin and even on a lined baking sheet. A thick crust takes longer to firm up in the centre and tends to stay soft underneath no matter how long you leave it, so aim for something closer to a flatbread than a deep-pan base.
The first bake is just about setting the base and getting some colour on it, and it goes in again, loaded with toppings, for the second, shorter bake once the cheese is on. Let it sit for a few minutes after that first bake before you pile anything on top; it firms up as it cools, which makes it a lot easier to handle.
Topping ideas worth trying
The base is deliberately plain so it can go in any direction you fancy. A few combinations that work well on this particular crust:
- Margherita Madness: fresh basil, sliced tomatoes, and mozzarella, simple and classic.
- Meaty Feast: cooked bacon, sausage, and pepperoni.
- Veggie Extravaganza: bell peppers, mushrooms, onions, and olives.
- Greek Delight: feta, Kalamata olives, red onion, and a drizzle of olive oil.
- Pesto Passion: pesto instead of tomato sauce, finished with sun-dried tomatoes, pine nuts, and basil.
Just as a side note, keep the sauce light whichever way you go. The base holds together well, but a heavy, watery sauce can still soften it from underneath, so a thin layer goes further than a thick one.
Why it’s worth keeping on rotation
Beyond the lower carb count, this is a genuinely useful way to get more vegetables into a meal that doesn’t usually involve any. It’s naturally gluten-free, so it suits anyone avoiding wheat, and because the base itself is so plain, you can push it in a completely different direction every time, Mediterranean one night, meat-and-cheese the next, without changing the method at all.
Storing and reheating leftovers
Keep leftover slices covered in the fridge. A hot oven or an air fryer brings the crust back to something close to its original texture; the microwave will heat it through fine, but it softens the base in the process, so it’s the better option only if you’re not fussed about that bite.
The bottom line
This isn’t trying to fool anyone into thinking it’s a wheat-based crust, and it doesn’t need to. It’s its own thing: a sturdy, cheesy, low-carb base that happens to use up a vegetable most people only ever steam or roast. Get the moisture out properly, keep it thin, and the toppings can do whatever they like. Yum! As always, many thanks for reading and until next time…Steve.
Why do I need to squeeze the cauliflower so much?
Because cauliflower holds a lot of water once it’s cooked, and if that water stays in, the crust turns into a wet, floppy disc instead of something you can pick up like a slice of pizza.
Why is my crust soft in the middle?
It’s usually down to thickness. A thick crust takes longer to firm up in the centre and tends to stay soft underneath, so press it out thin and even before it goes in the oven.
Is this crust actually gluten-free?
Yes, there’s no flour in the base, just cauliflower, cheese and egg, which makes it suitable if you’re avoiding gluten.
What’s the best way to reheat a slice?
A hot oven or an air fryer keeps the crust firmer than the microwave does, which tends to leave it a bit soft underneath.
Can I change the toppings?
Yes, that’s the point. The base is deliberately plain so it can go in any direction, from a simple margherita to something more Mediterranean, as long as you keep the sauce light.

You might also love
More in Breads & Rolls
Cheese and Chive Scones
Updated: July 12, 2026 These cheese and chive scones and very savory and very tasty. You can serve them with just a…
Read
Freshly Baked French Baguettes
Updated: September 29, 2026 Let’s start with a question. Who doesn’t like the smell of freshly baked bread? Especially in the morning…
Read
How to Make Brioche Buns
Updated: July 12, 2026 Ever wondered how to make brioche buns? These ever so slightly sweet but savory buns are just the…
Read
Homemade Hot Cross Buns
Updated: July 12, 2026 Hey there my fine foodie friends! Today is a milestone for The Yum Yum Club. Not only are…
Read
Roadmap to The Best Cinnamon Rolls
Updated: November 2, 2026 OK, my Foodie Friends, some trips are planned around a single pastry, and this is one of them.…
Read
School Pudding Gypsy Tart
Updated: November 5, 2026 Most of you reading this are probably curious and asking yourselves, “So what is this “school pudding gypsy…
Read