
Chicken Sandwich Recipe
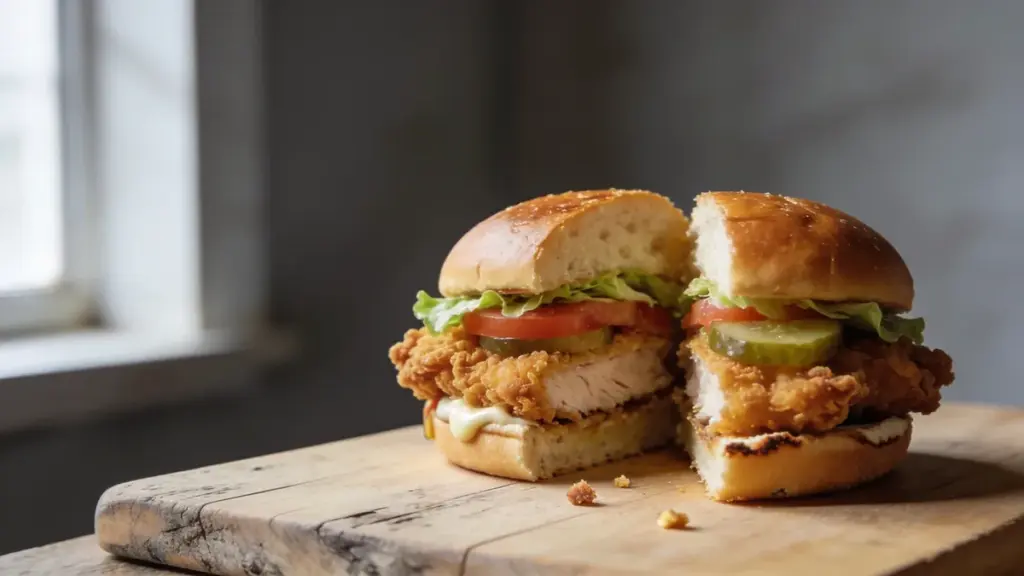
Table of Contents
A proper chicken sandwich is crisp outside and juicy inside, and miles better than the sad, soggy ones you grab on a lunch break. Buttermilk soak, seasoned coating, steady oil, a bun toasted in butter. Simple as that. Fry it, grill it, bake it or turn up the heat. Marinate ahead and the cooking itself is quick.
The Yum Yum Club · Kitchen Tested Recipe
Chicken Sandwich
Prep: 30 mins · Cook: 20 mins · Total: 50 mins
Ingredients
4 servingsFor the chicken
To assemble
Nutrition Facts
Per Serving: 1
Nutrition values are estimates calculated per serving from the ingredient list.
Instructions
-
1
Marinate the chicken. Whisk the buttermilk with the salt, smoked paprika, garlic granules, onion granules and cayenne. Add the chicken cutlets, turn to coat, cover, and leave in the fridge for at least 30 minutes. Overnight is better if you’ve planned ahead.
-
2
Make the dredge. In a wide bowl, combine the plain flour, cornflour, baking powder, a good pinch of salt and plenty of black pepper. Whisk it together so there are no lumps.
-
3
Heat the oil. Pour your neutral oil into a deep, heavy pan and bring it to 175-180°C. If you don’t have a thermometer, drop in a small cube of bread; it should sink briefly, then rise and fizz steadily without burning.
-
4
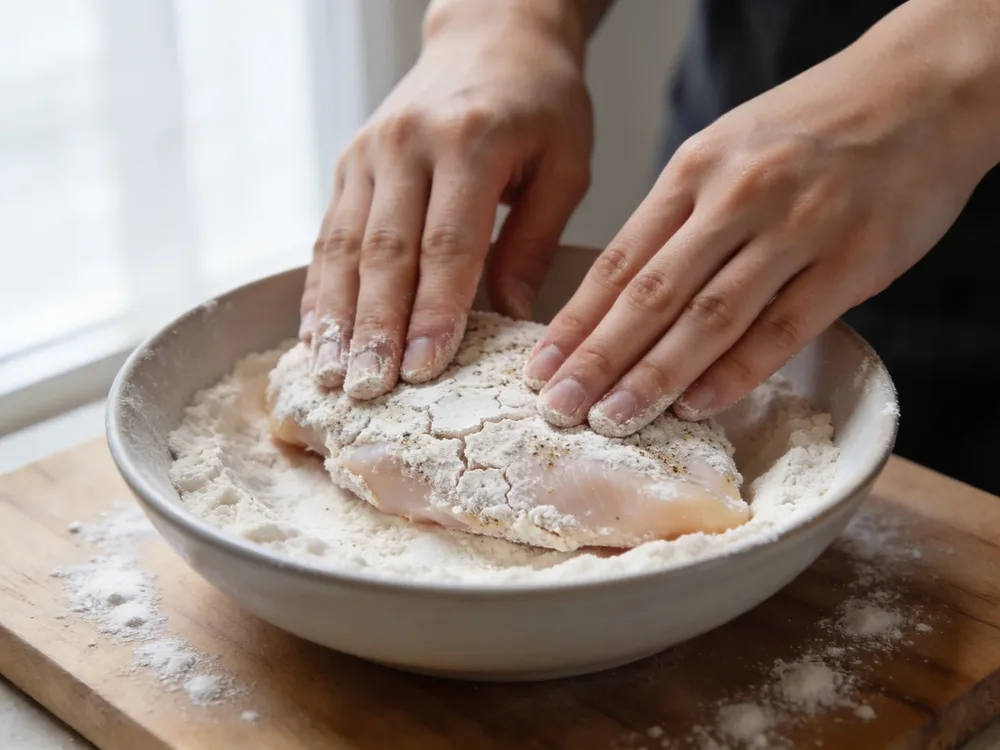
Coat the chicken. Lift each cutlet out of the buttermilk, letting the excess drip back into the bowl, then press it firmly into the flour mixture on both sides. Shake off the loose flour and set the coated pieces on a rack while you finish the rest.
-
5
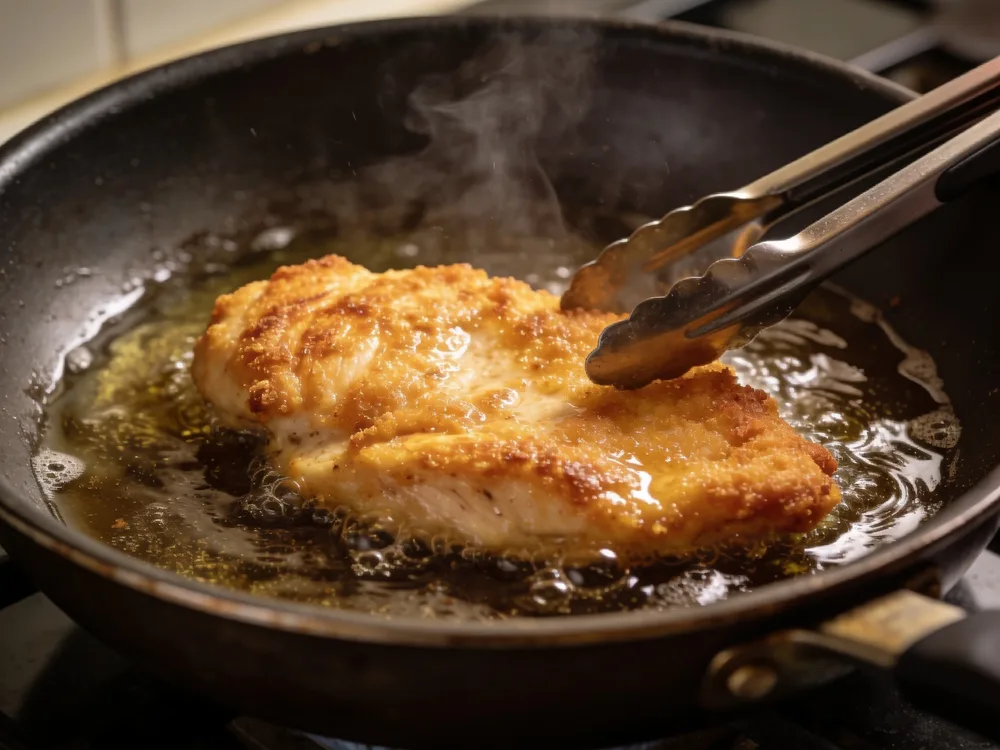
Fry. Lower two pieces at a time into the oil. Don’t crowd the pan. Fry for 4-5 minutes per side, turning once, until deep golden and cooked through at the thickest point.
-
6
Drain and rest. Move the cooked chicken to a wire rack rather than kitchen paper. Rest for 5 minutes.
-
7
Toast the buns. Wipe out the pan, or use a separate one, and melt the butter over medium heat. Press the cut sides of the buns into the pan for 60-90 seconds until golden and slightly crisp at the edges.
-
8
Build. Spread mayo or fry sauce on both bun halves. Lay lettuce on the base, then the chicken, then pickles, tomato and onion. Top and press down gently before eating.
Kitchen Notes & Tips
- Press the flour mixture firmly onto both sides, then let the coated cutlets sit on a rack for 5-10 minutes before frying – that short rest is what keeps the crust from falling off in the oil.
- Fry two pieces at a time. Crowd the pan and the oil temperature drops, leaving you with pale, greasy chicken instead of a crisp crust.
- Rest the fried chicken on a wire rack, never on kitchen paper, which traps steam underneath and softens the crust.
- Chicken is safely cooked once the thickest part holds 70°C for two minutes, per UK Food Standards Agency guidance – trust the thermometer, not the colour of the crust.
Why this chicken sandwich works
Right, here’s the thing. The gap between a dry, soggy sandwich and a crisp, juicy one comes down to a handful of small decisions. Get the coating right, keep the oil steady, and toast the bun in the pan you just fried in. Yum! There’s a grilled, baked and spicy version below too, all on the same basic method.
Ingredient notes and swaps
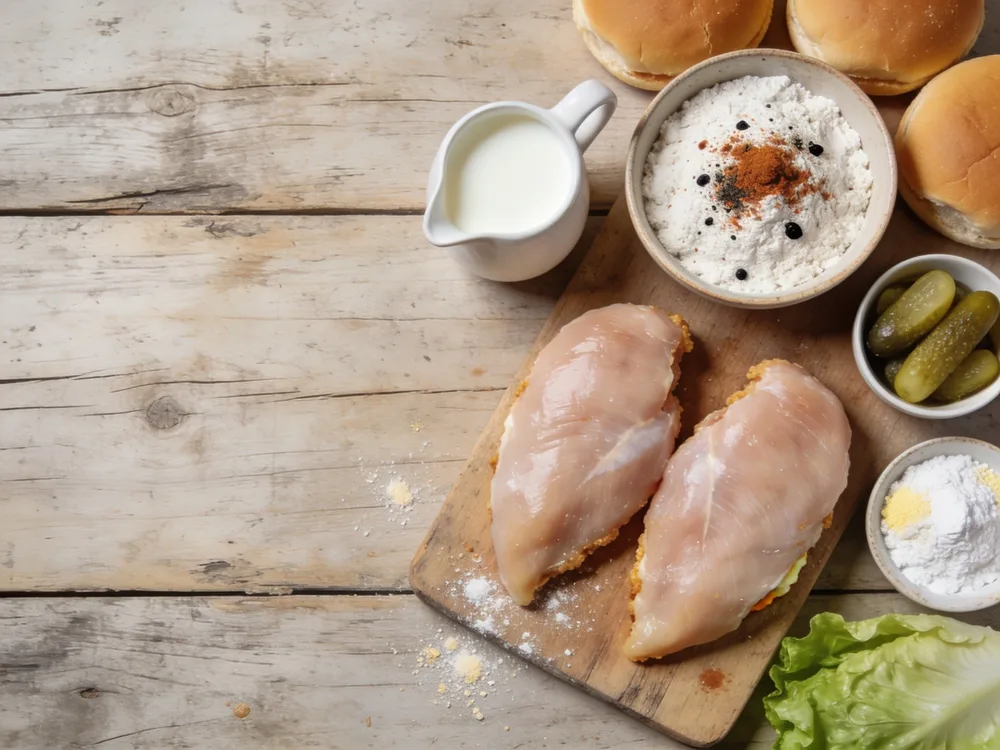
Halve the breasts horizontally into thinner cutlets. It matters more than it sounds. A whole breast is so thick that the outside is heading towards dark by the time the centre is safe. Thin cutlets cook through just as the crust turns crisp. Small breasts? Press them flat instead.
The buttermilk soak is what keeps the crust stuck on and the meat juicy. Cornflour and a little baking powder keep the coating crisp and craggy. Season the flour too, not just the marinade.
How it comes together
Quantities and times are in the recipe card above. Here’s the why behind each step.
Marinate
The seasoned buttermilk bit can happen hours ahead, so dinner stays calm.
Coat
Let the excess buttermilk drip off, then press each cutlet firmly into the flour, both sides. Really press! Park the pieces on a rack.
Fry
Listen for it. The second the chicken hits properly hot oil you’ll hear a hard, immediate sizzle. That’s your cue things are going right. Silent? The oil is too cold. Spitting hard? Pull the pan off the heat for thirty seconds. Fry two pieces at a time, or the temperature drops and you get pale, greasy chicken.
Rest and toast
Rest the chicken on a wire rack, never kitchen paper, which traps steam and softens the crust. Meanwhile, toast the buns cut-side down in buttered pan until golden.
Tips for the crispiest, juiciest chicken
- Use a thermometer. Chicken is safe once the thickest part holds 70°C for two minutes. My guide to safe cooked-chicken temperatures and reheating covers the detail. The same rule applies to a whole roast chicken.
- Trust the thermometer, not the crust. Deep brown on the outside tells you nothing reliable about the centre. A pale cutlet can be perfectly cooked.
Toppings and fry sauce
The classic is pickles, lettuce, tomato, onion and mayo. The pickle acidity cuts the richness of the coating. You don’t need to reinvent it.
The sauce is where you can shift the whole character. My default is a simple fry sauce. Three parts mayonnaise to one part ketchup, a teaspoon of yellow mustard, a splash of pickle brine and a pinch of smoked paprika. It should be tangy enough to make you pull a face before the mayo rounds it off.
Other swaps work too. Coleslaw instead of lettuce, pickled red onion for a sharper, less aggressive bite, hot honey over the chicken, or ranch for a buffalo-style version.
Build it in order. Sauce on the base, then lettuce, chicken, then the wetter bits like tomato and pickles, then sauce on the top bun. That keeps the bottom bun from going soggy.
Variations
Grilled. Skip the flour. Marinate the cutlets in the buttermilk mixture for at least an hour, then grill over medium-high heat for 5-6 minutes per side, until you get clear grill marks. Cooking on a barbecue? My tips for BBQ like a pro cover heat management.
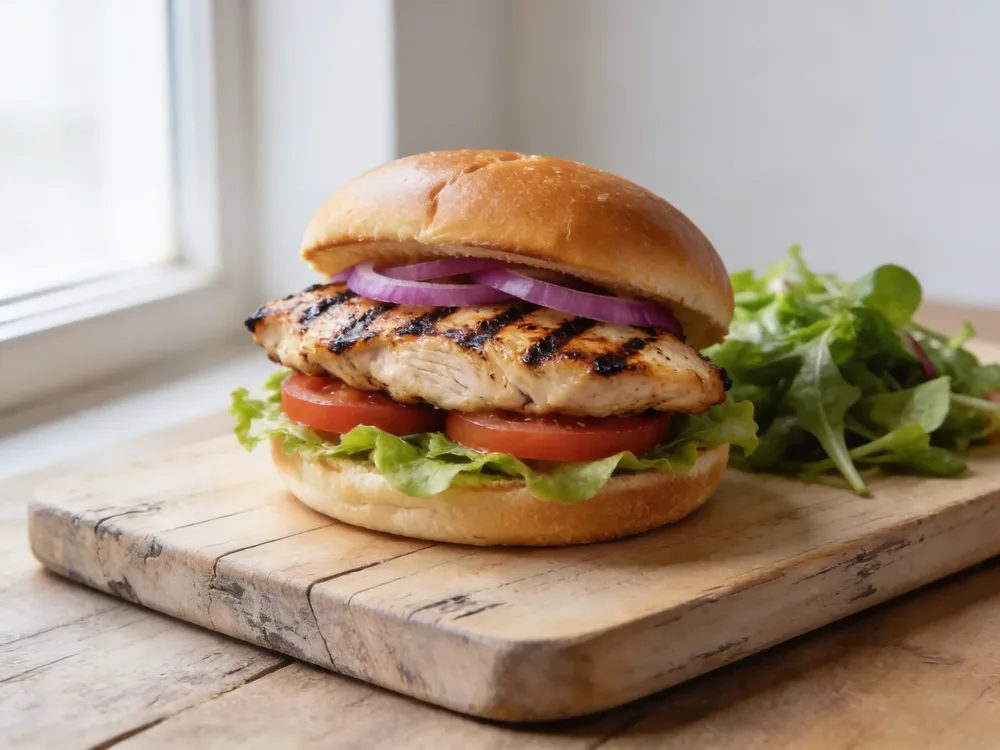
Baked. Preheat the oven to 200°C, or 180°C fan. Coat the chicken as normal, set it on a wire rack over a baking tray and spray lightly with oil. Bake for 18-22 minutes, flipping once halfway.
Spicy. Add an extra teaspoon of cayenne to the flour and a tablespoon of hot sauce to the buttermilk. For a Nashville-style finish, melt 60g of butter with a tablespoon of cayenne and a teaspoon of brown sugar, then brush it over the hot chicken. Wear an apron.
What to serve with it
The sandwich is rich, so keep the sides sharp and light. A vinegary slaw is the obvious partner. Oven chips or a cold Bavarian potato salad with bacon work too. Oven chips can be made while the chicken rests, so nothing clashes with the frying.
Storage and reheating
Cooked chicken keeps in the fridge for up to three days in an airtight container. Cool it first, and keep it away from the buns, lettuce and sauce, because assembled sandwiches go soggy fast.
Reheat in the oven or air fryer at a moderate heat for eight to ten minutes. That brings the crust close to its original state. The microwave steams the coating soft. In a hurry? A dry frying pan over medium heat works too. My guide to reheating fried chicken properly goes through all three.
The bottom line
Thin cutlets, a coating that sticks, oil at the right temperature and a buttered bun. Nail those four and you’re sorted. Make it once as written, then start tweaking, my Foodie Friends. Fancy something different next time? Try my Philly cheese steak sandwich or homemade lamb burgers. As always, thanks for reading, and I will see you next time. Steve.
Chicken sandwich FAQ
What temperature should chicken be cooked to?
Seventy degrees Celsius, held for two minutes, at the thickest part, per UK Food Standards Agency guidance. Check the centre of the thickest cutlet with a digital thermometer. Colour and timing alone aren’t reliable enough.
Can I make this chicken sandwich without buttermilk?
Yes. Stir 1 tablespoon of lemon juice or white vinegar into 240ml of whole milk and leave it for 10 minutes until it thickens slightly. It tenderises the chicken and helps the coating cling, just like the real thing.
How do I stop the coating falling off the chicken?
Press the flour mixture firmly onto both sides with your hands, then let the coated pieces sit on a rack for 5-10 minutes before frying. That short rest lets the coating grip the meat, so it stays put in the oil.
Can I make this in an air fryer?
Yes. Coat the chicken as normal, spray both sides lightly with oil and cook at 190°C for 12-15 minutes, flipping halfway. The crust comes out close to deep-fried crunch with far less oil.
What’s the best bread for a chicken sandwich?
A toasted, buttered brioche bun. It’s soft enough to bite through and sturdy enough to hold a fried cutlet. A crusty roll or sourdough works too if you like more chew.

You might also love
More in Sandwiches & Wraps
Bacon, Brie and Cranberry Sarnie
Updated: July 12, 2026 Hey there my Foodie Friends!! This morning I make no excuses. I woke up hungry and just felt…
Read
Teriyaki Prawns in a Lettuce Wrap
Updated: July 12, 2026 My beautiful wife, Jennifer, loves Asian food. Well, any food for that matter! ???? But if she had…
Read
Philly Cheese Steak Sandwich
Updated: July 12, 2026 A cheesesteak (also known as a Philadelphia cheesesteak, Philly cheesesteak, cheesesteak sandwich, cheesesteak, or steak and cheese) is…
Read
How to Make Wild Mushroom Soup
Updated: July 12, 2026 Wild mushroom soup. What a lovely thought. Wholesome, healthy and very tasty. Simple to make and depending on…
Read
Gluten-Free Quinoa Salad Recipe
Updated: July 12, 2026 Are you looking for a light and refreshing dish to savor during the summer months? Look no further…
Read
Ricotta Prosciutto & Fig Crostini
Updated: July 12, 2026 This is a relatively short post compared to some of the others here at Thy Yum Yum Club.…
Read